POSTS
Glock Trigger Enhancements
The Glock 17 comes from the factory with about a 5 pound trigger pull. This isn’t bad, but it’s also not great depending on your intended use. I only use my G17 for target practice and maybe competition in the future so I don’t have to worry about any legality issues with gun modifications and self defense. A lighter and smoother trigger pull will hopefully help increase my accuracy by reducing the force needed to squeeze the trigger, increasing the likelihood of staying on target.
So, let’s do what we can to lighten and smooth out the trigger pull. We are simply going to polish the metal surface that move against other metal surfaces when the trigger is actuated.
It is best to polish by hand. Using a dremel or polishing wheel provides an opportunity for an ill-timed sneeze to ruin a part. With hand polishing we are guaranteed to not remove a significant amount of surface material.
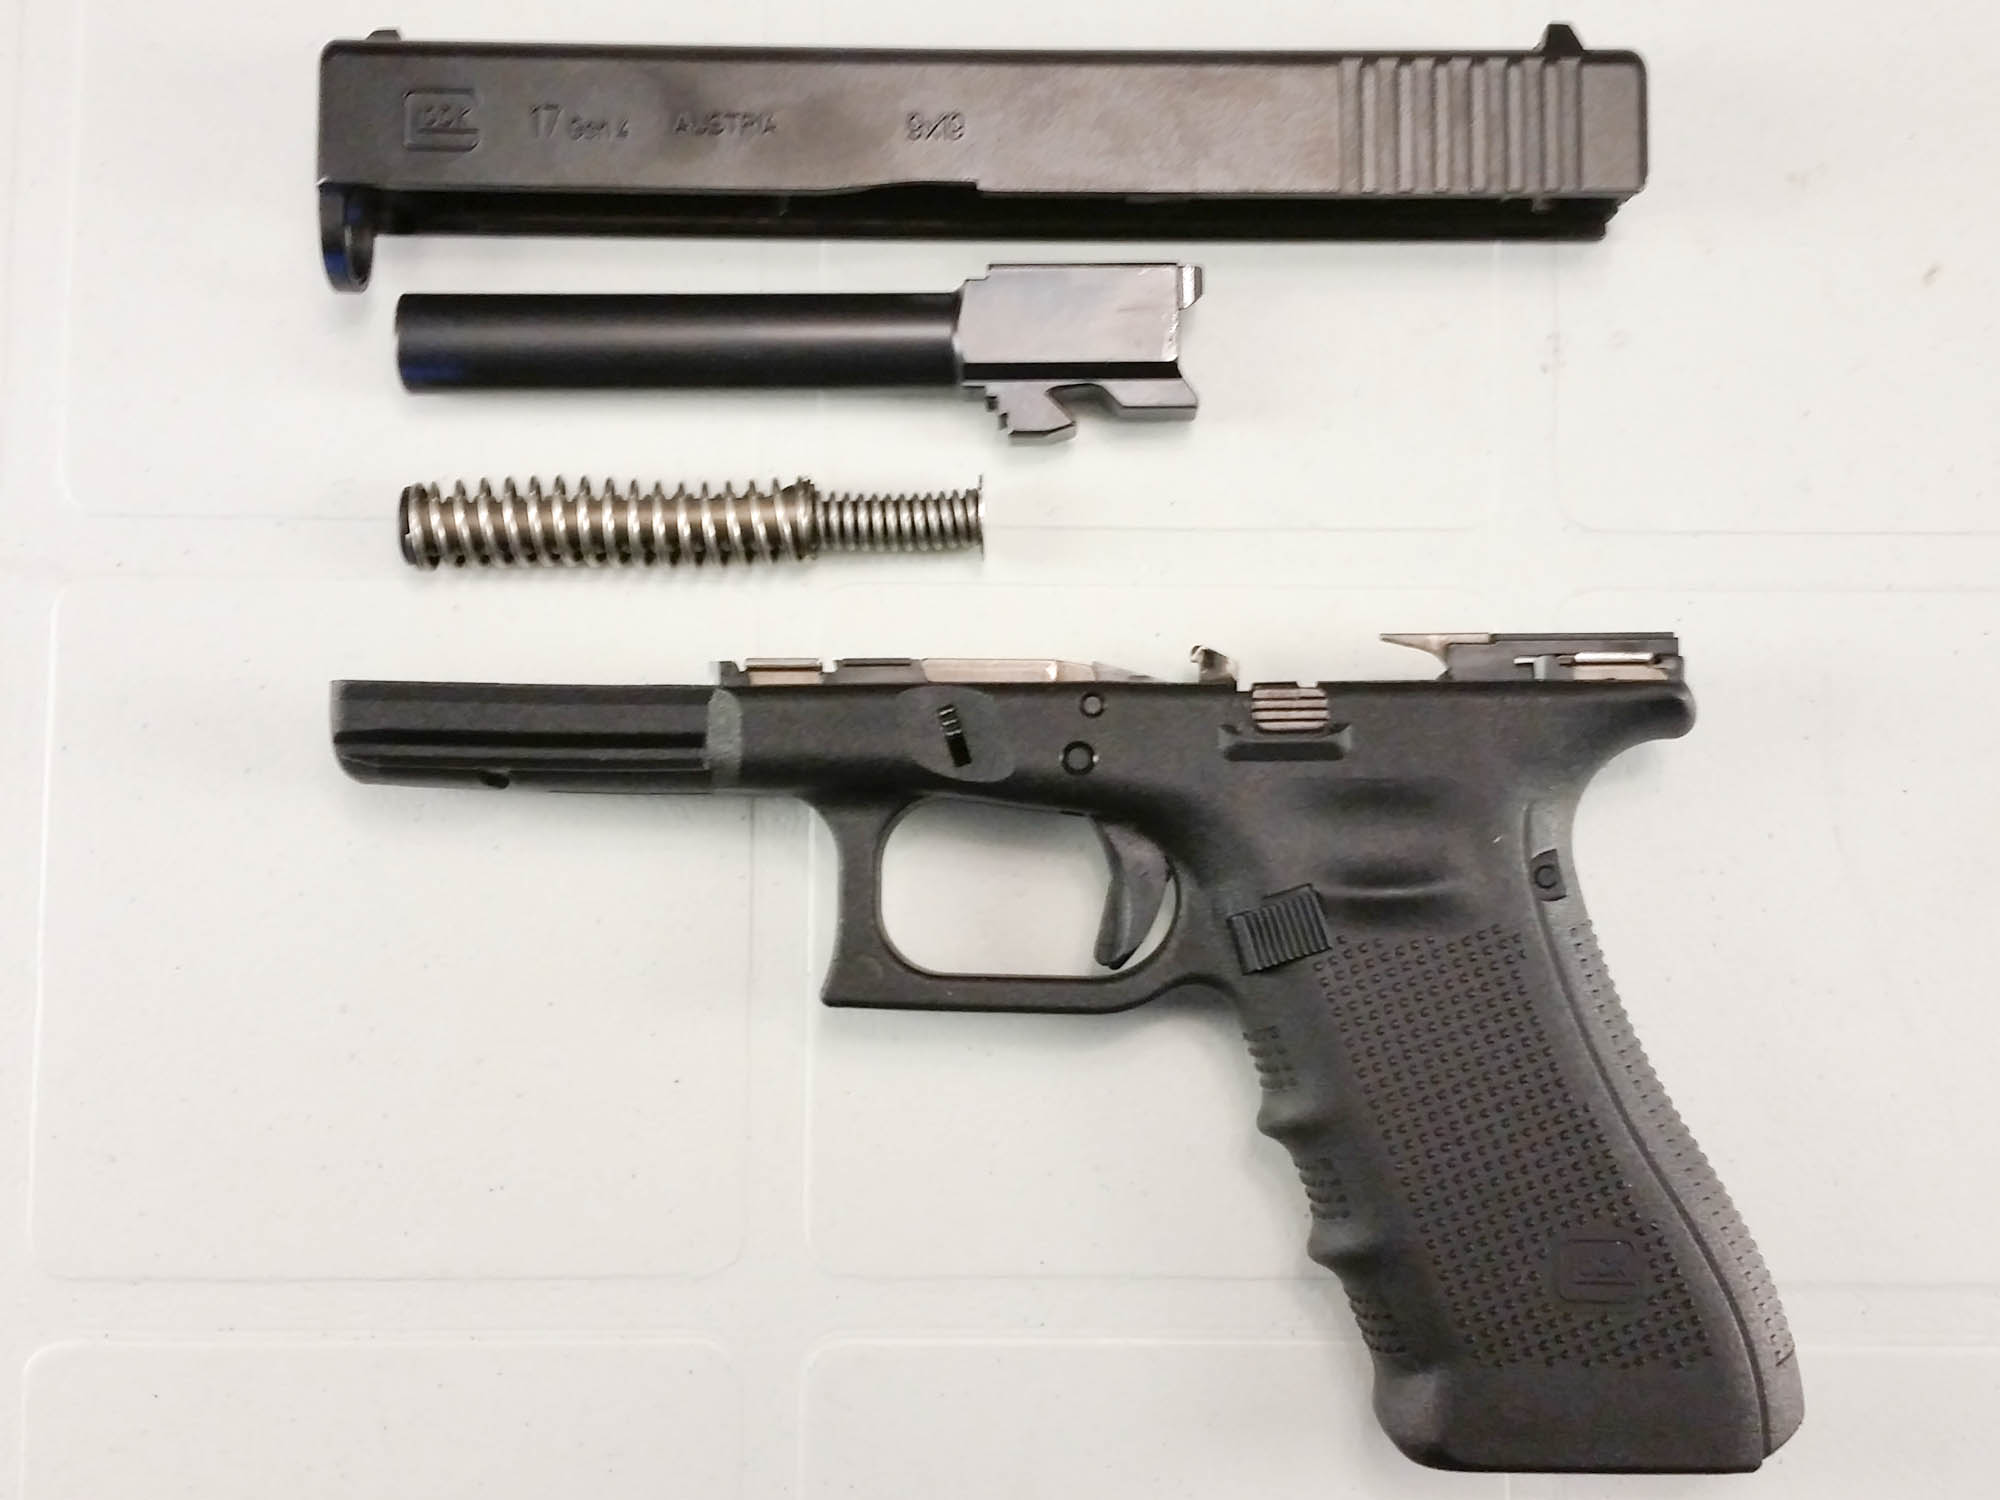
First, disassemble.
Stock Glock field stripped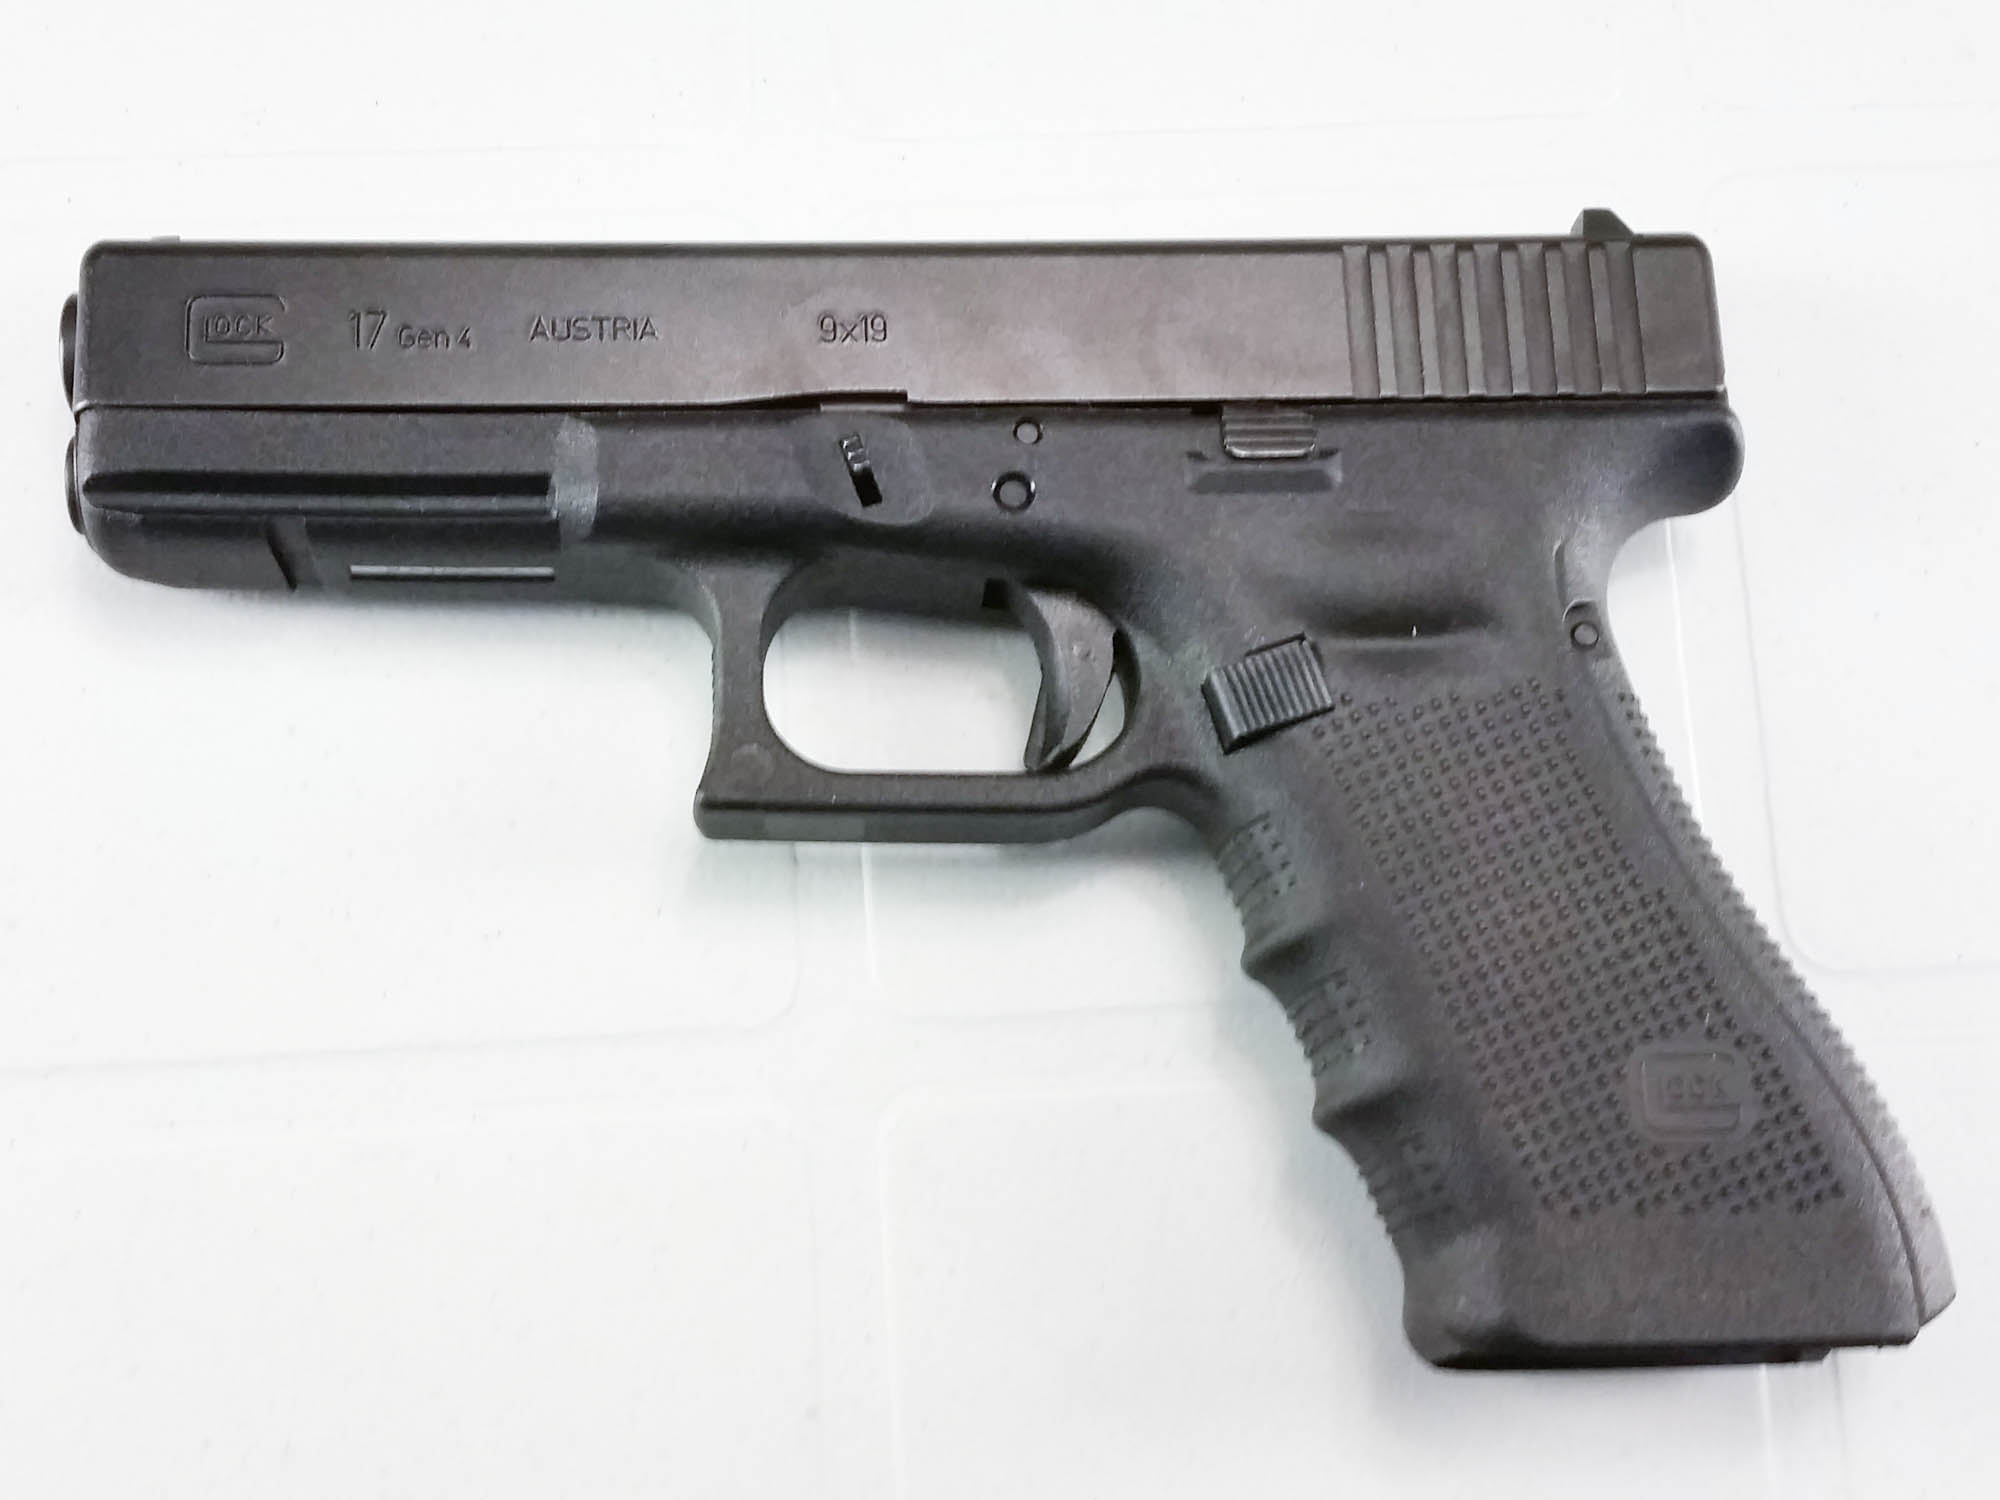
And finally a full detail strip. The instructions on how to do so can be found elsewhere.
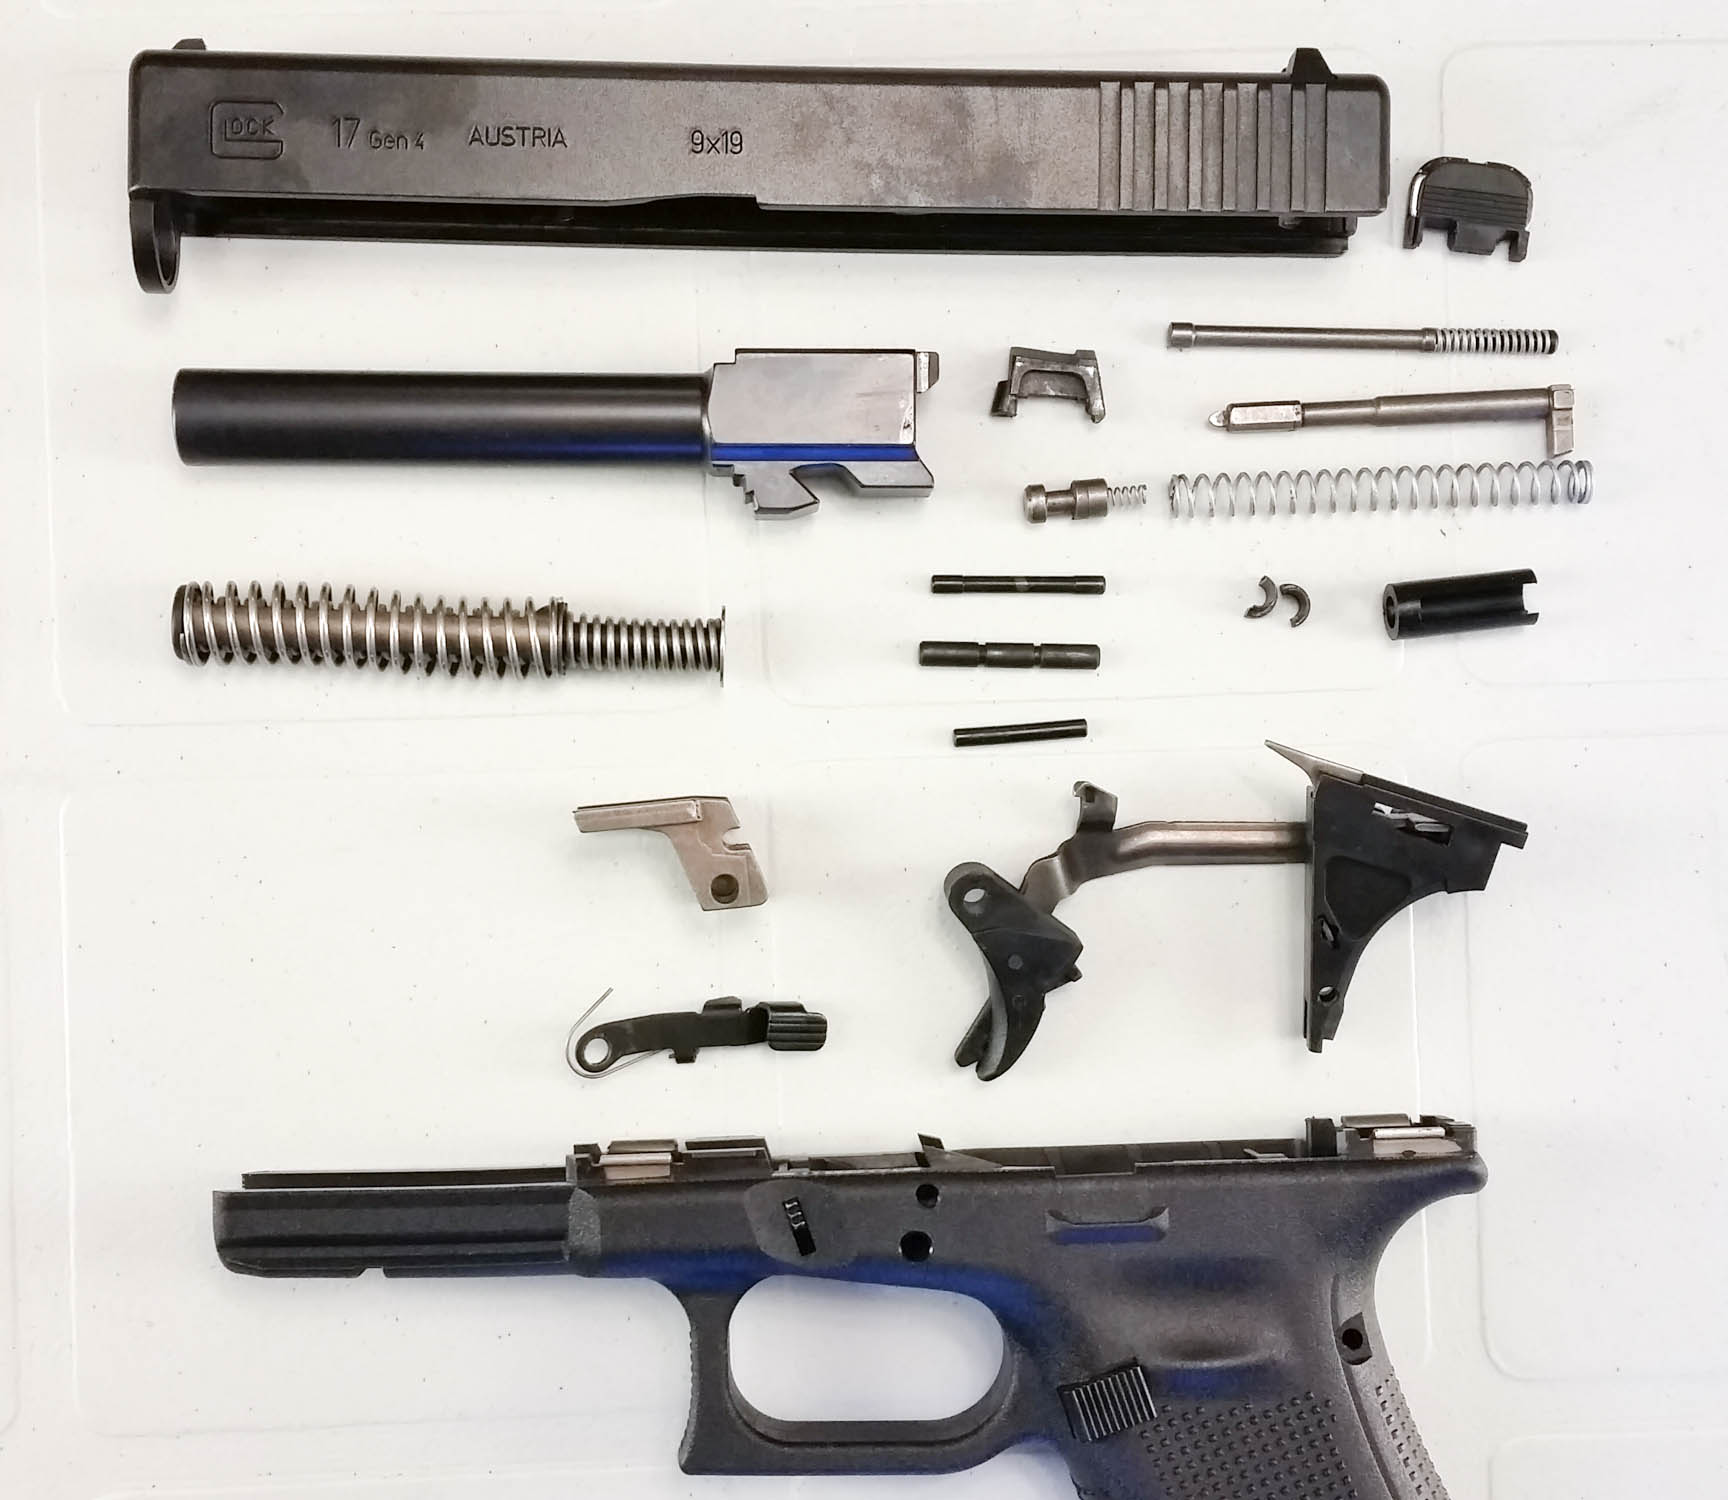
detail stripped
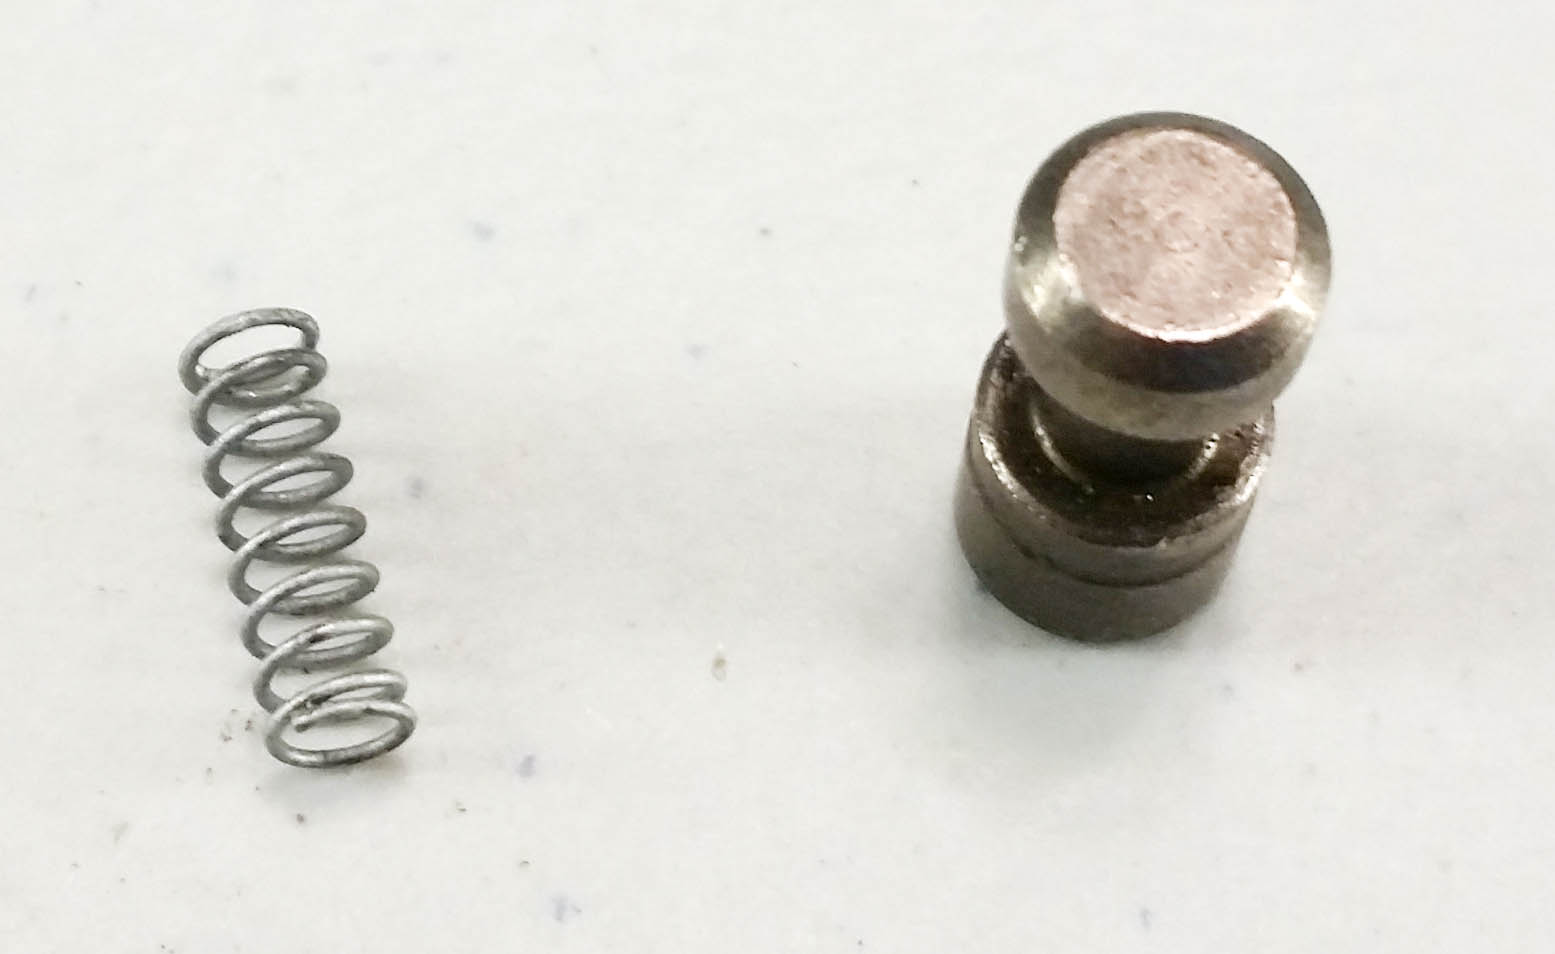
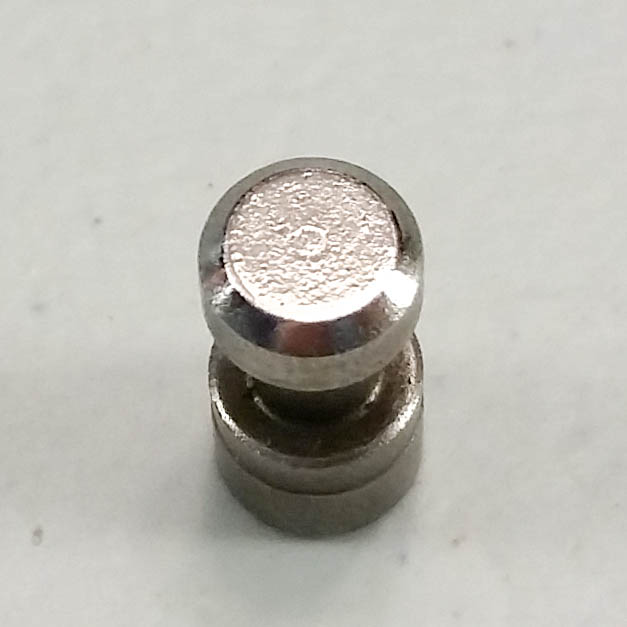
plunger before polish
The first surface that we will look at is the bottom of the safety plunger. A piece of the trigger bar slides against and pushes this up when the trigger is pulled.
You can use any metal polish you have on hand. I used a brand called nevr-dull that I have for polishing wheels – it is a polish solution soaked into a cotton wadding (no liquid to spill.) Two other popular brands are brasso and flitz.
I chose not to polish to a mirror finish because I didn’t want to remove too much surface material. There are still some small bumps but the surface is smooth.
polishing compound smooth plunger
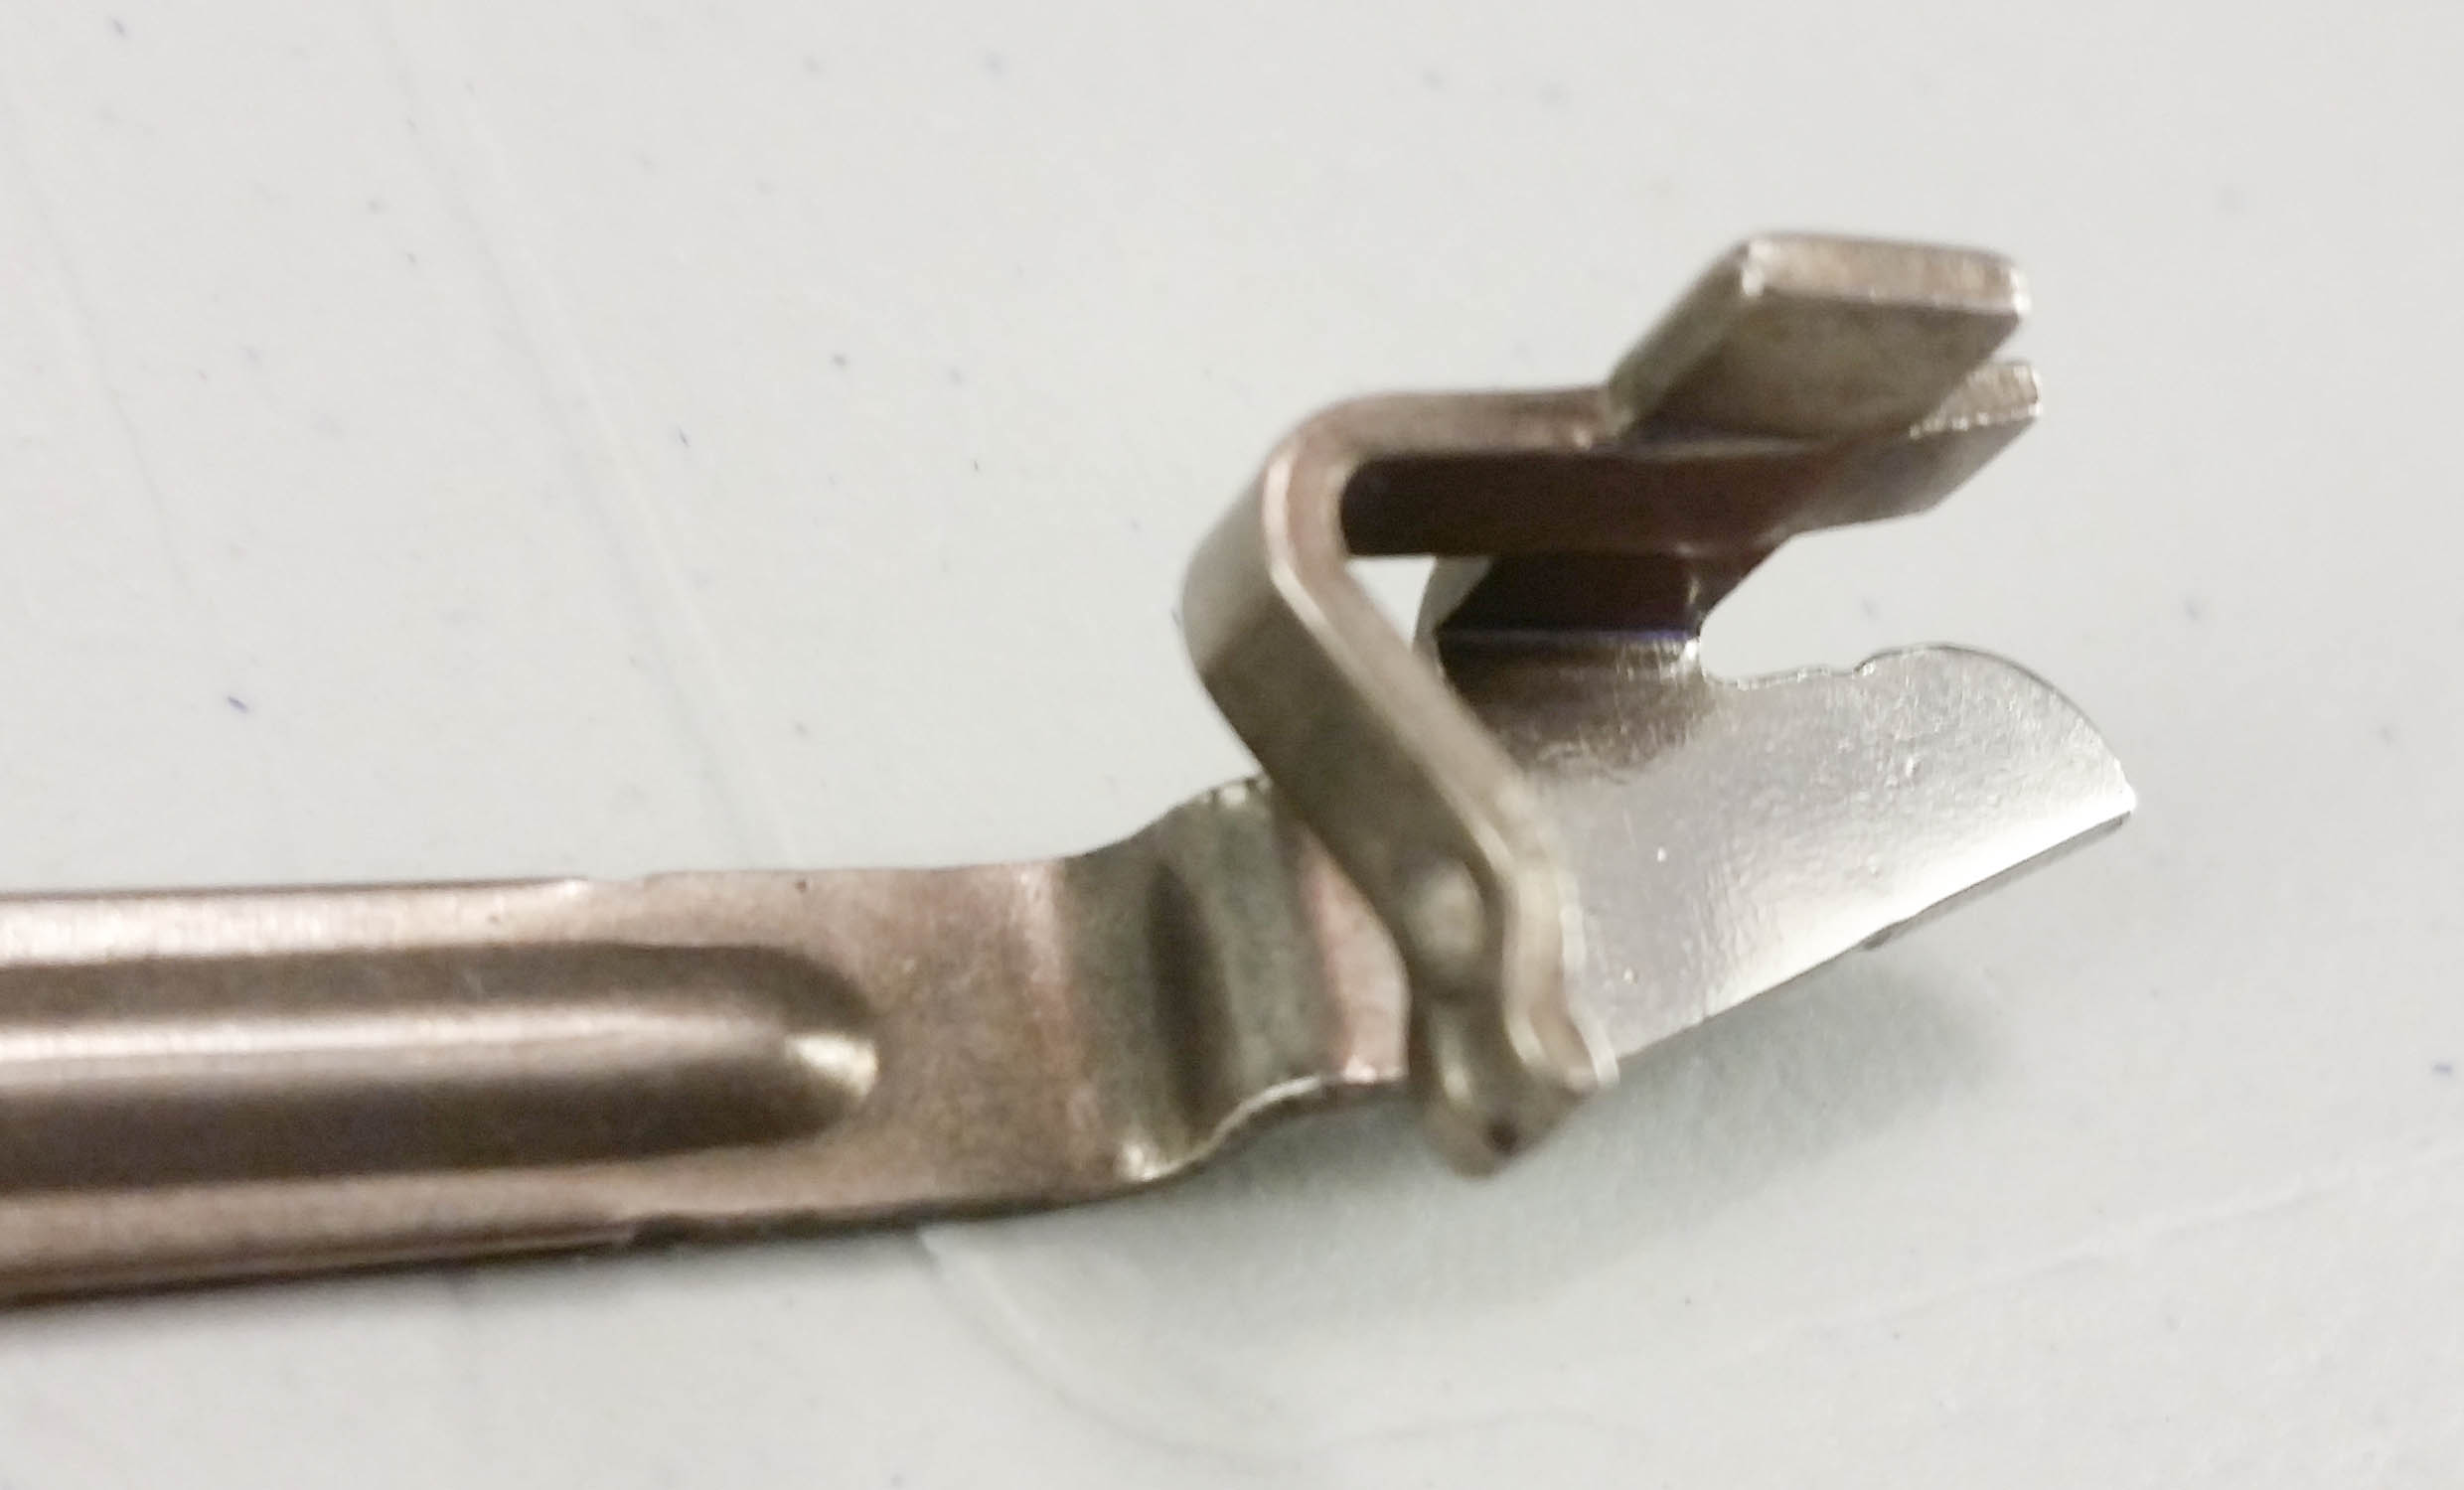
The next surface is on the striker. It is the front facing ledge that connects with the trigger bar.
striker profile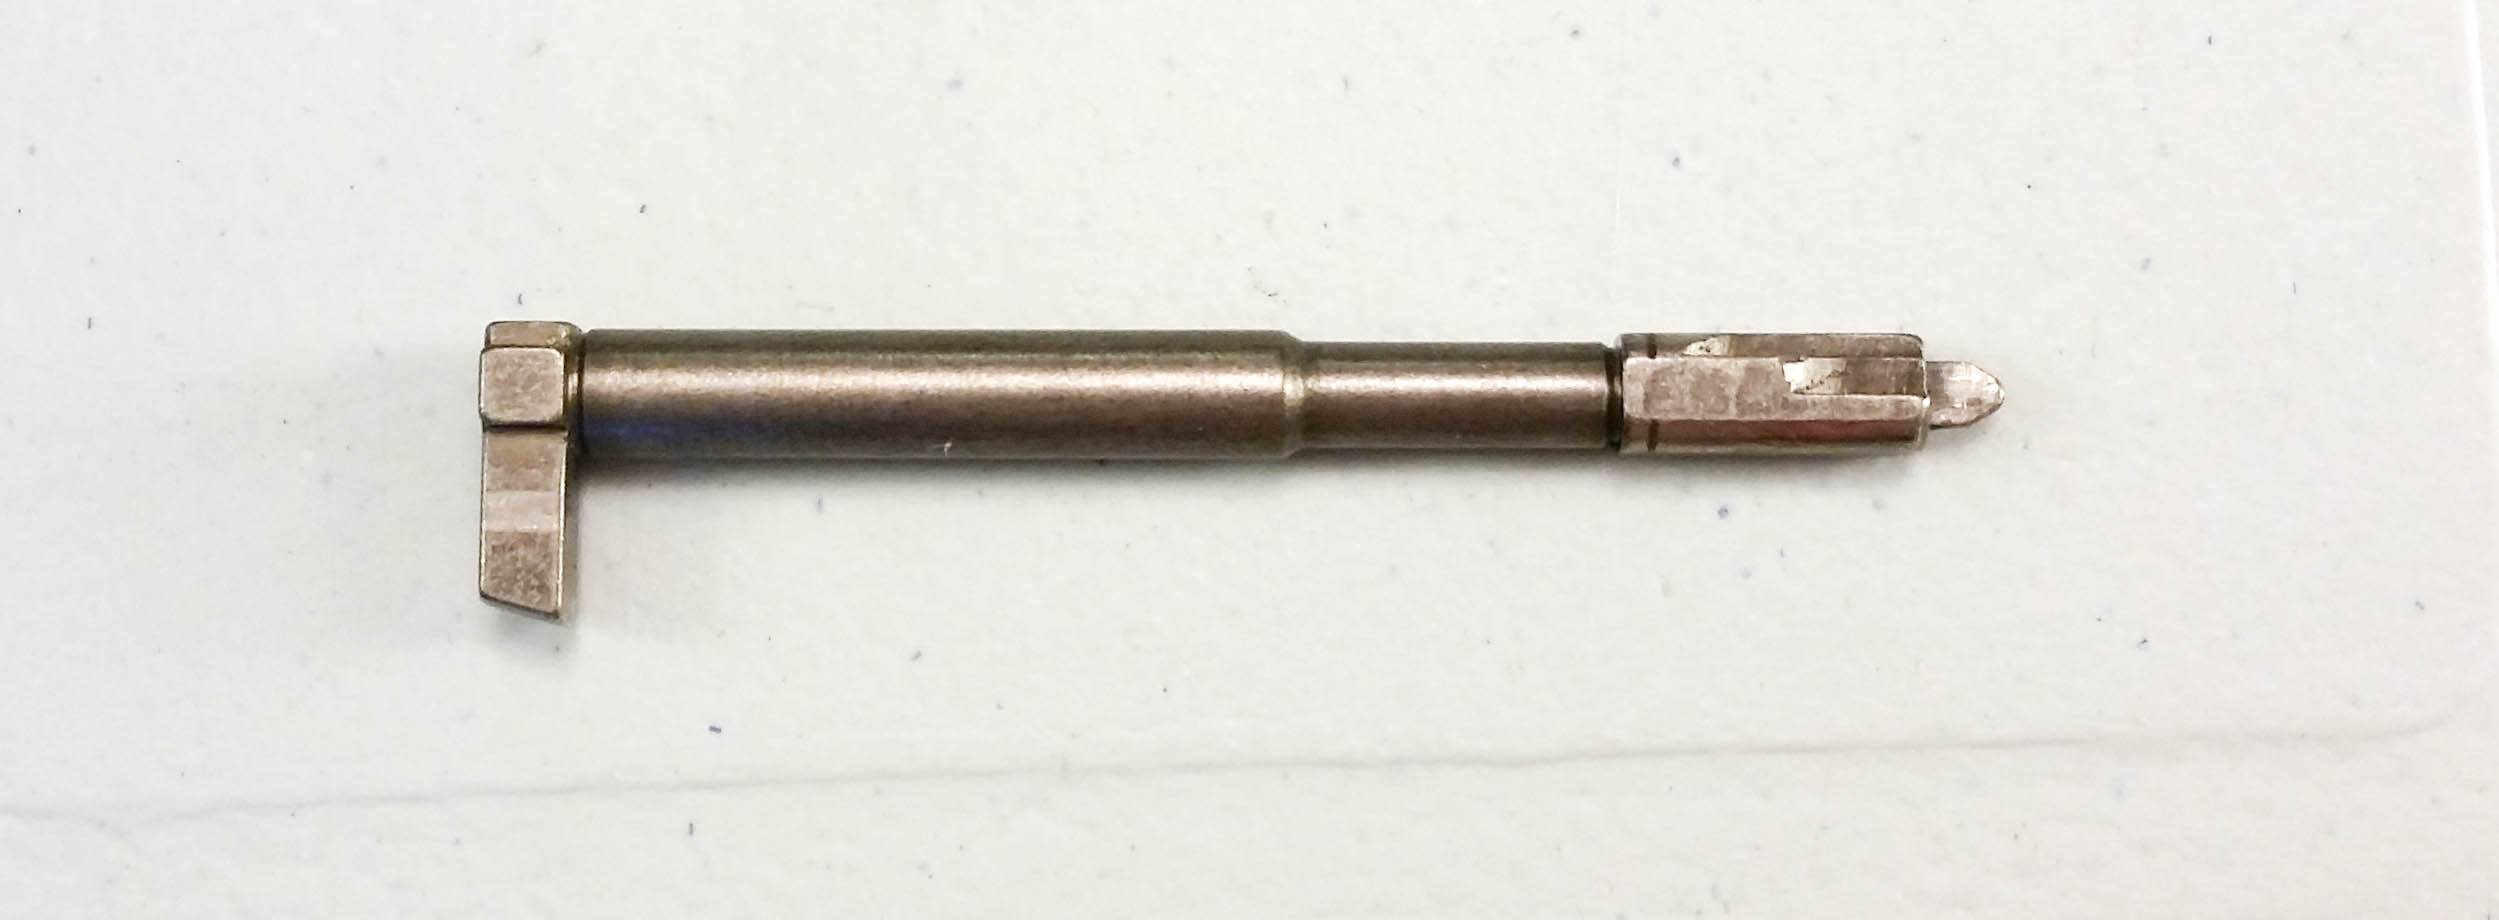
striker before striker after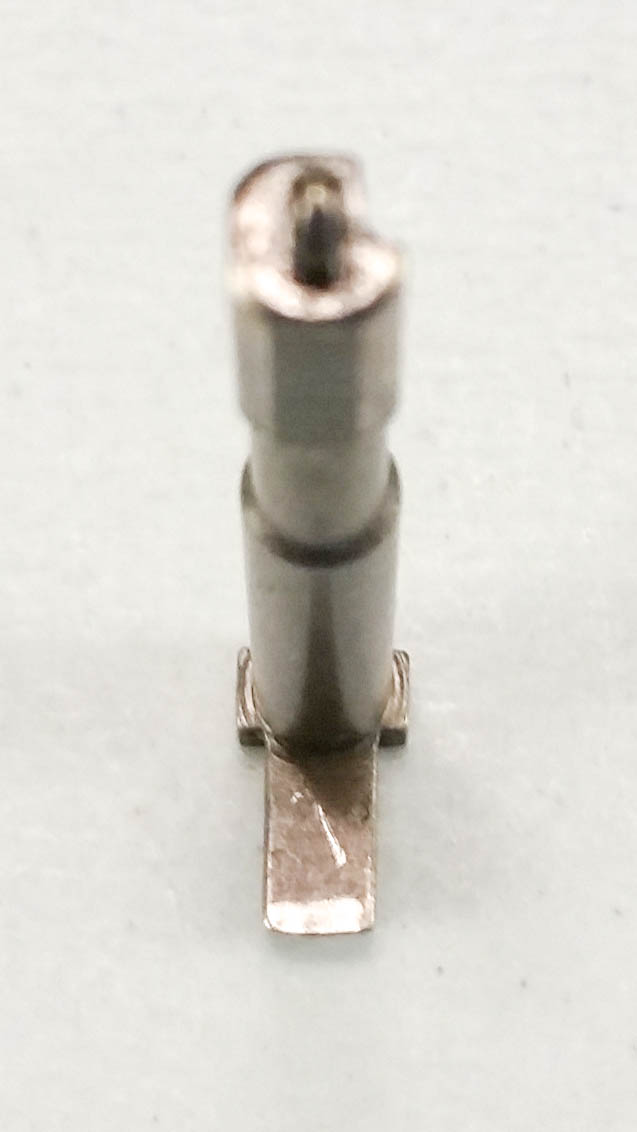
The trigger assembly contains the trigger bar and trigger connector.
trigger assembly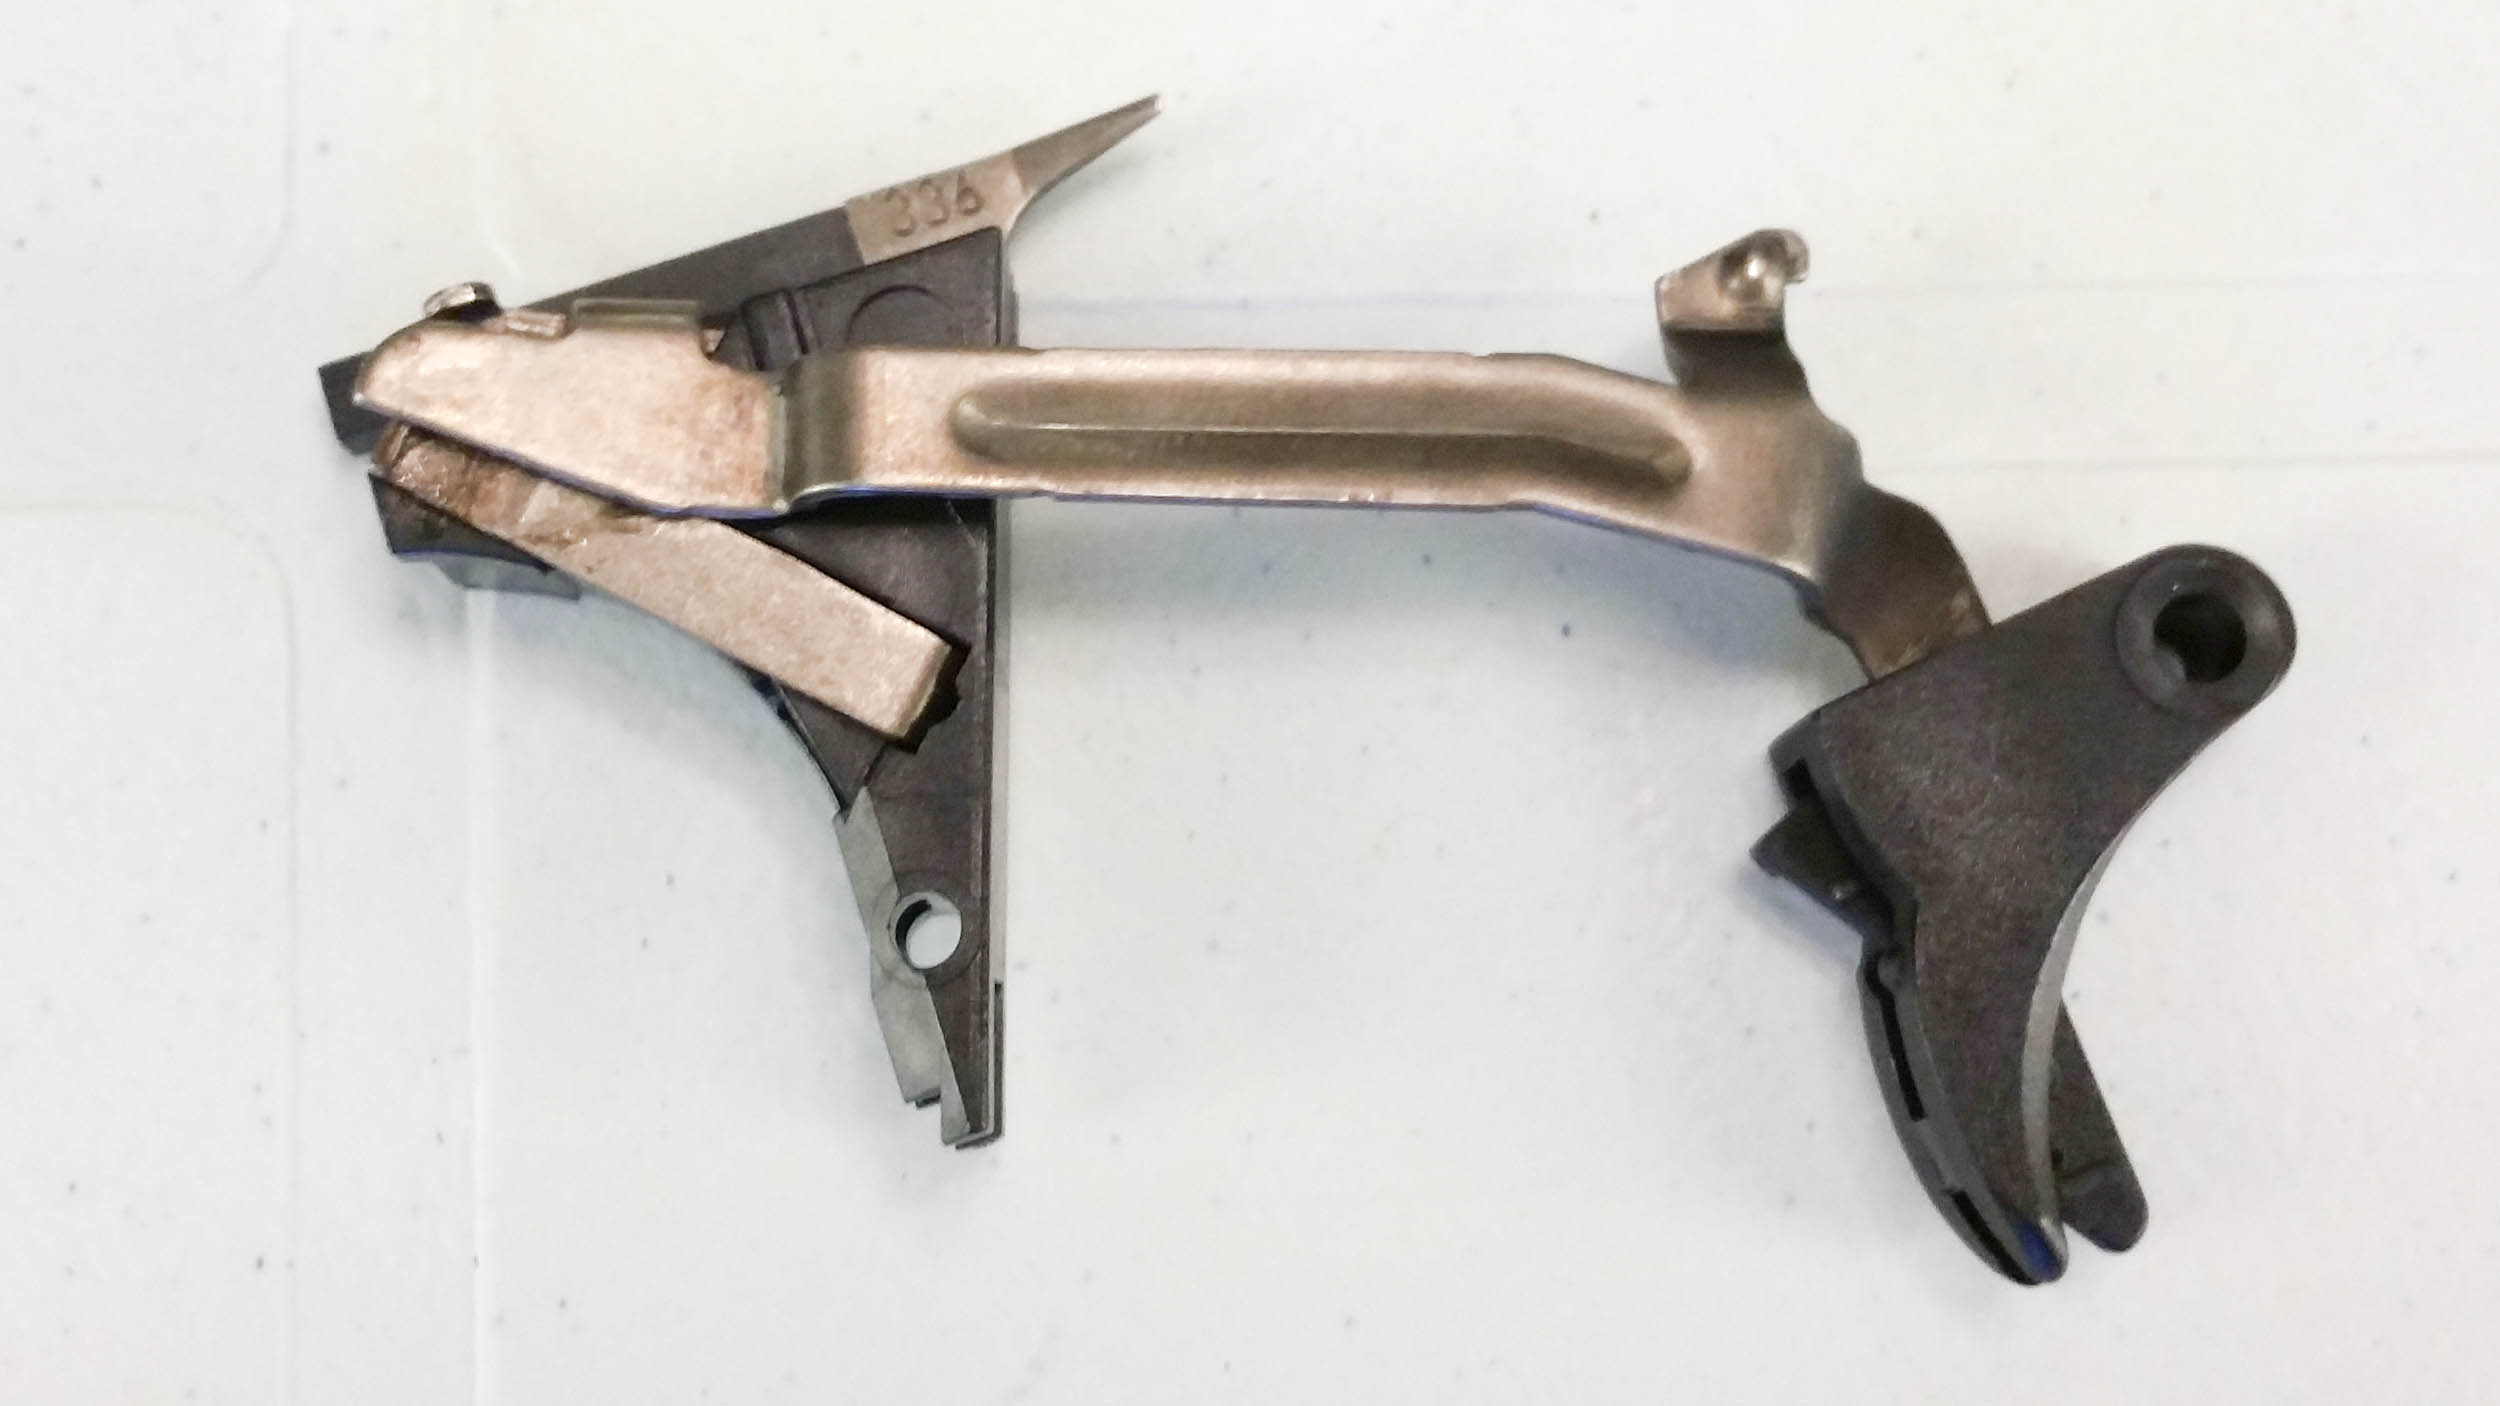
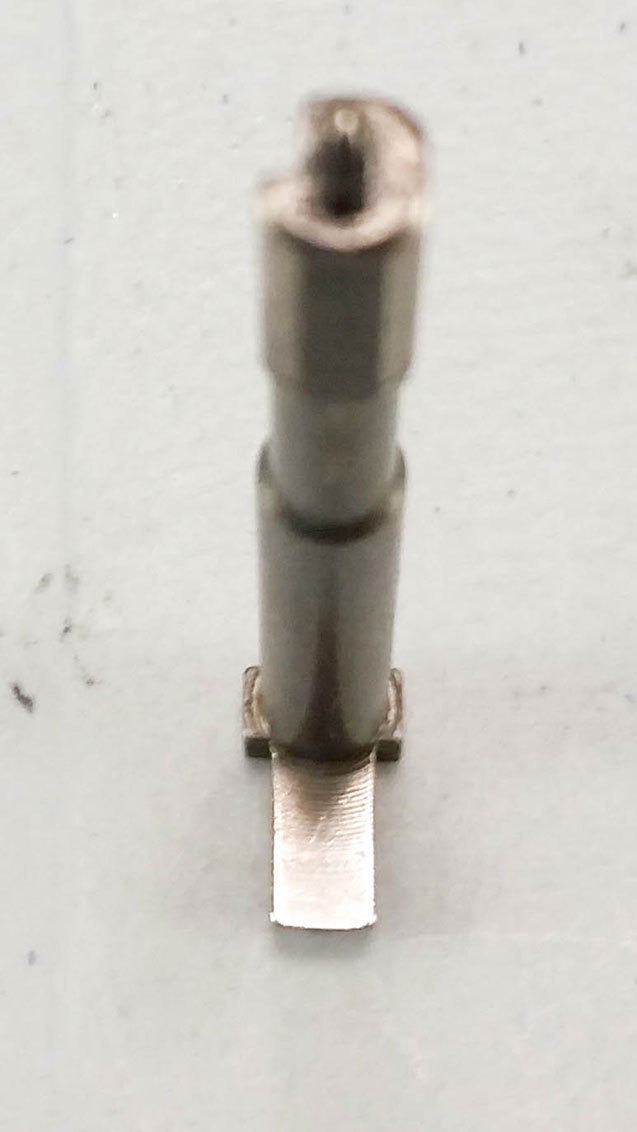
To separate the 2 components, pull the trigger bar forward (the metal piece connected to the trigger) and pivot the bar out of the mechanism housing. The spring will still be attached. Then finagle the trigger bar off the spring.
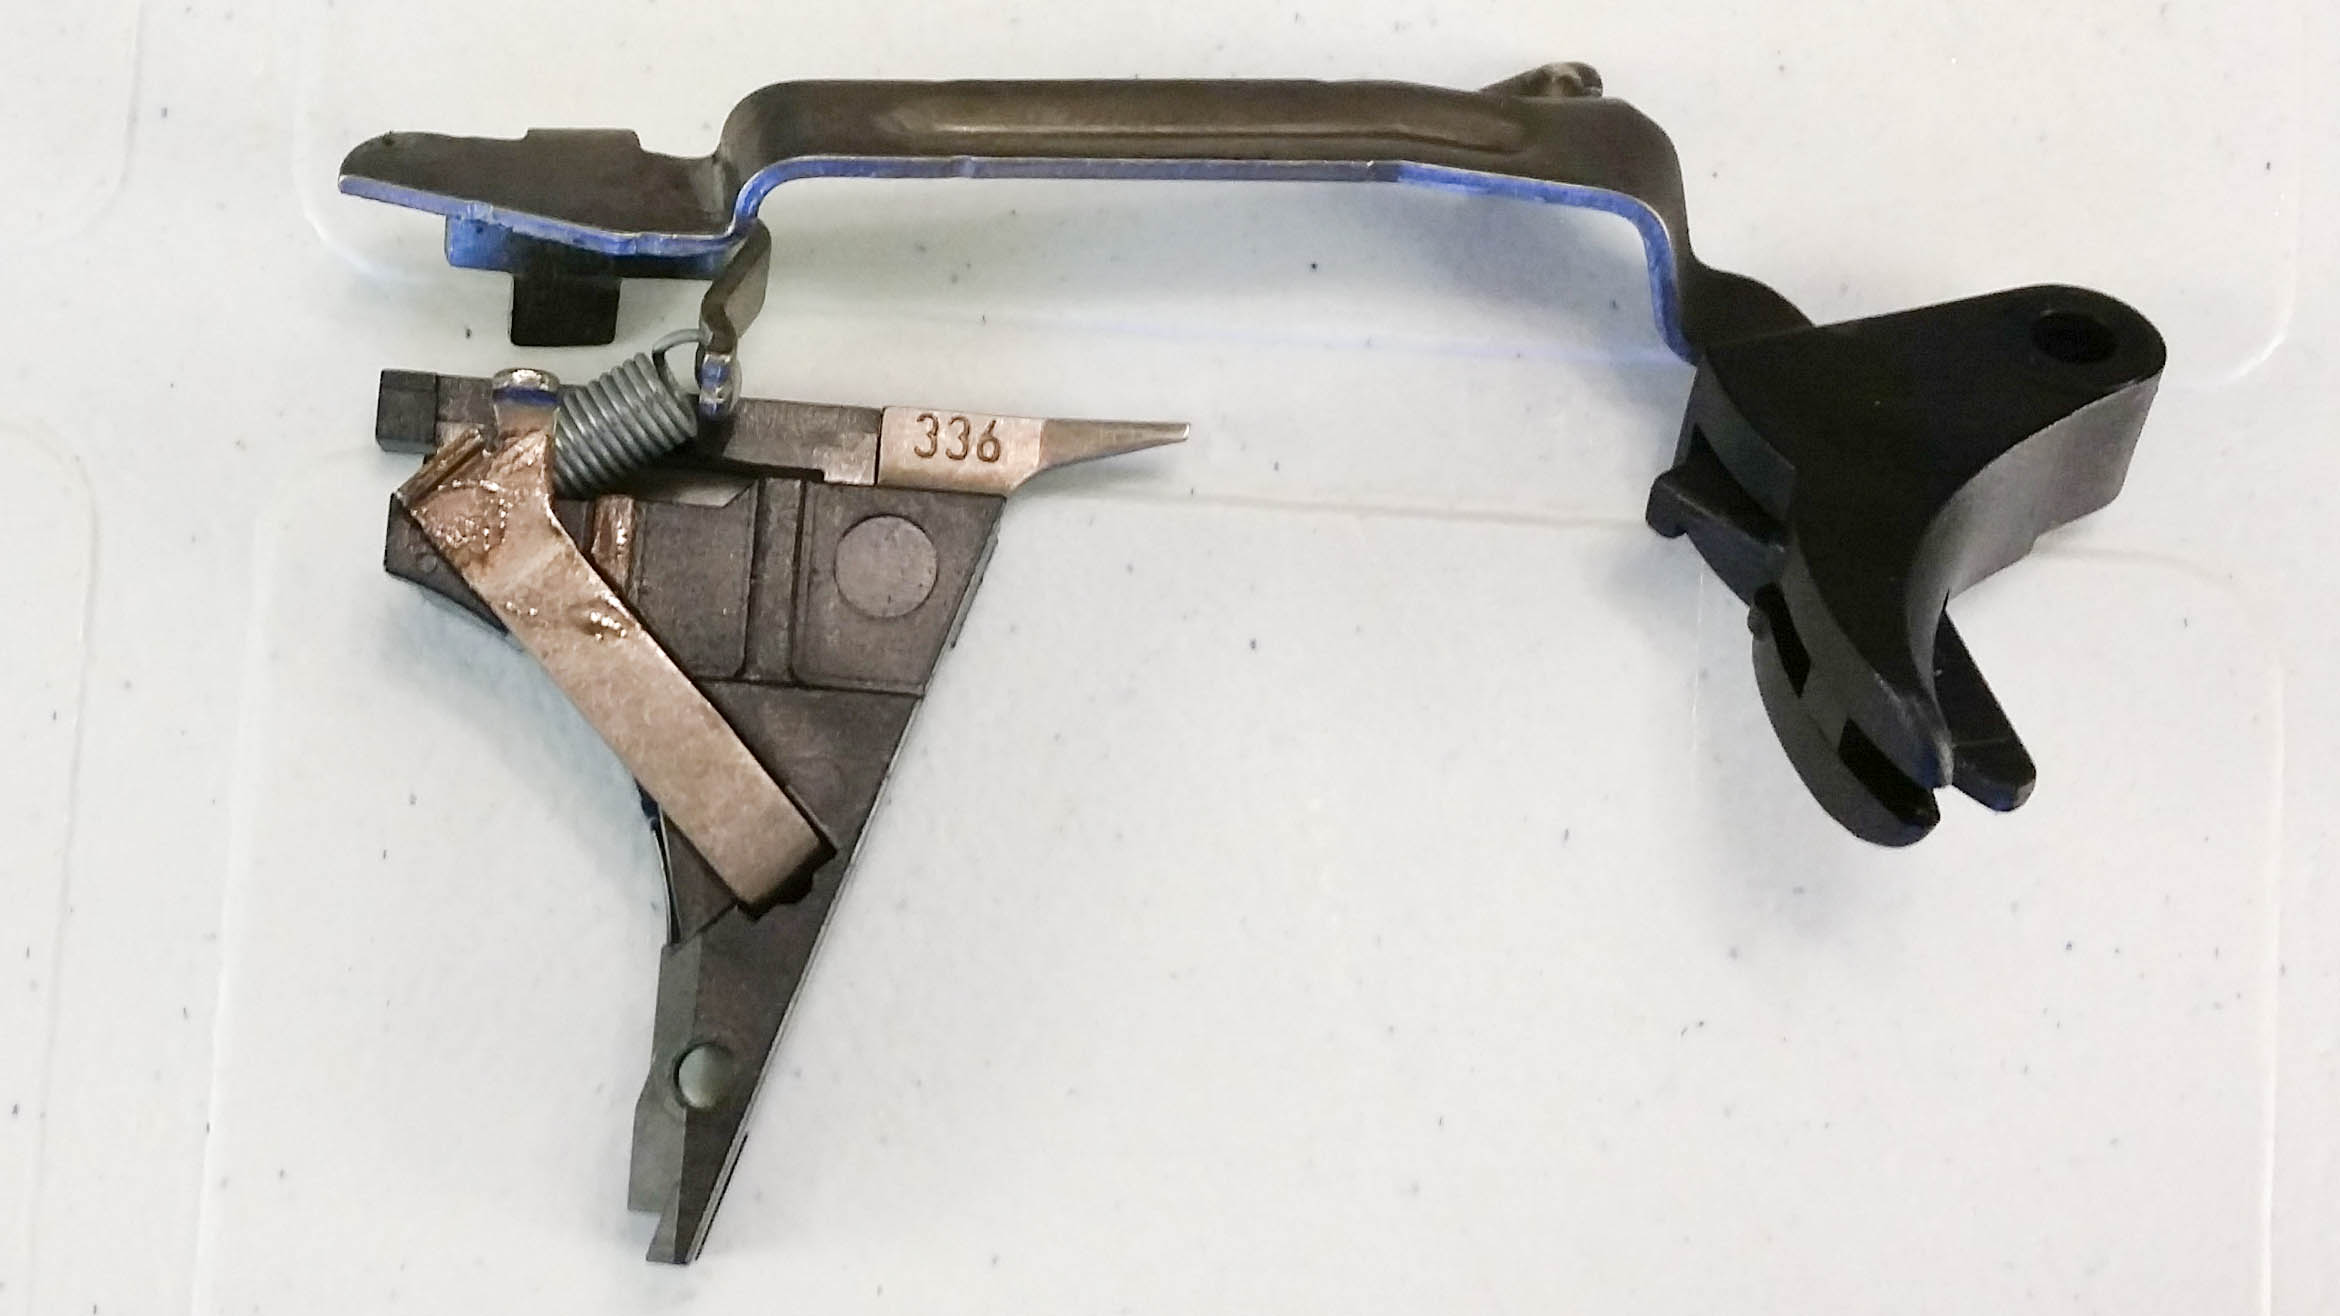
trigger assembly removed from channel
Trigger bar contact points to polish:
- rear top of cross, contacts the striker tab that we polished earlier.
- inside below the cross, contacts the trigger connector
- top protrusion, pushes up the safety plunger that we polished earlier
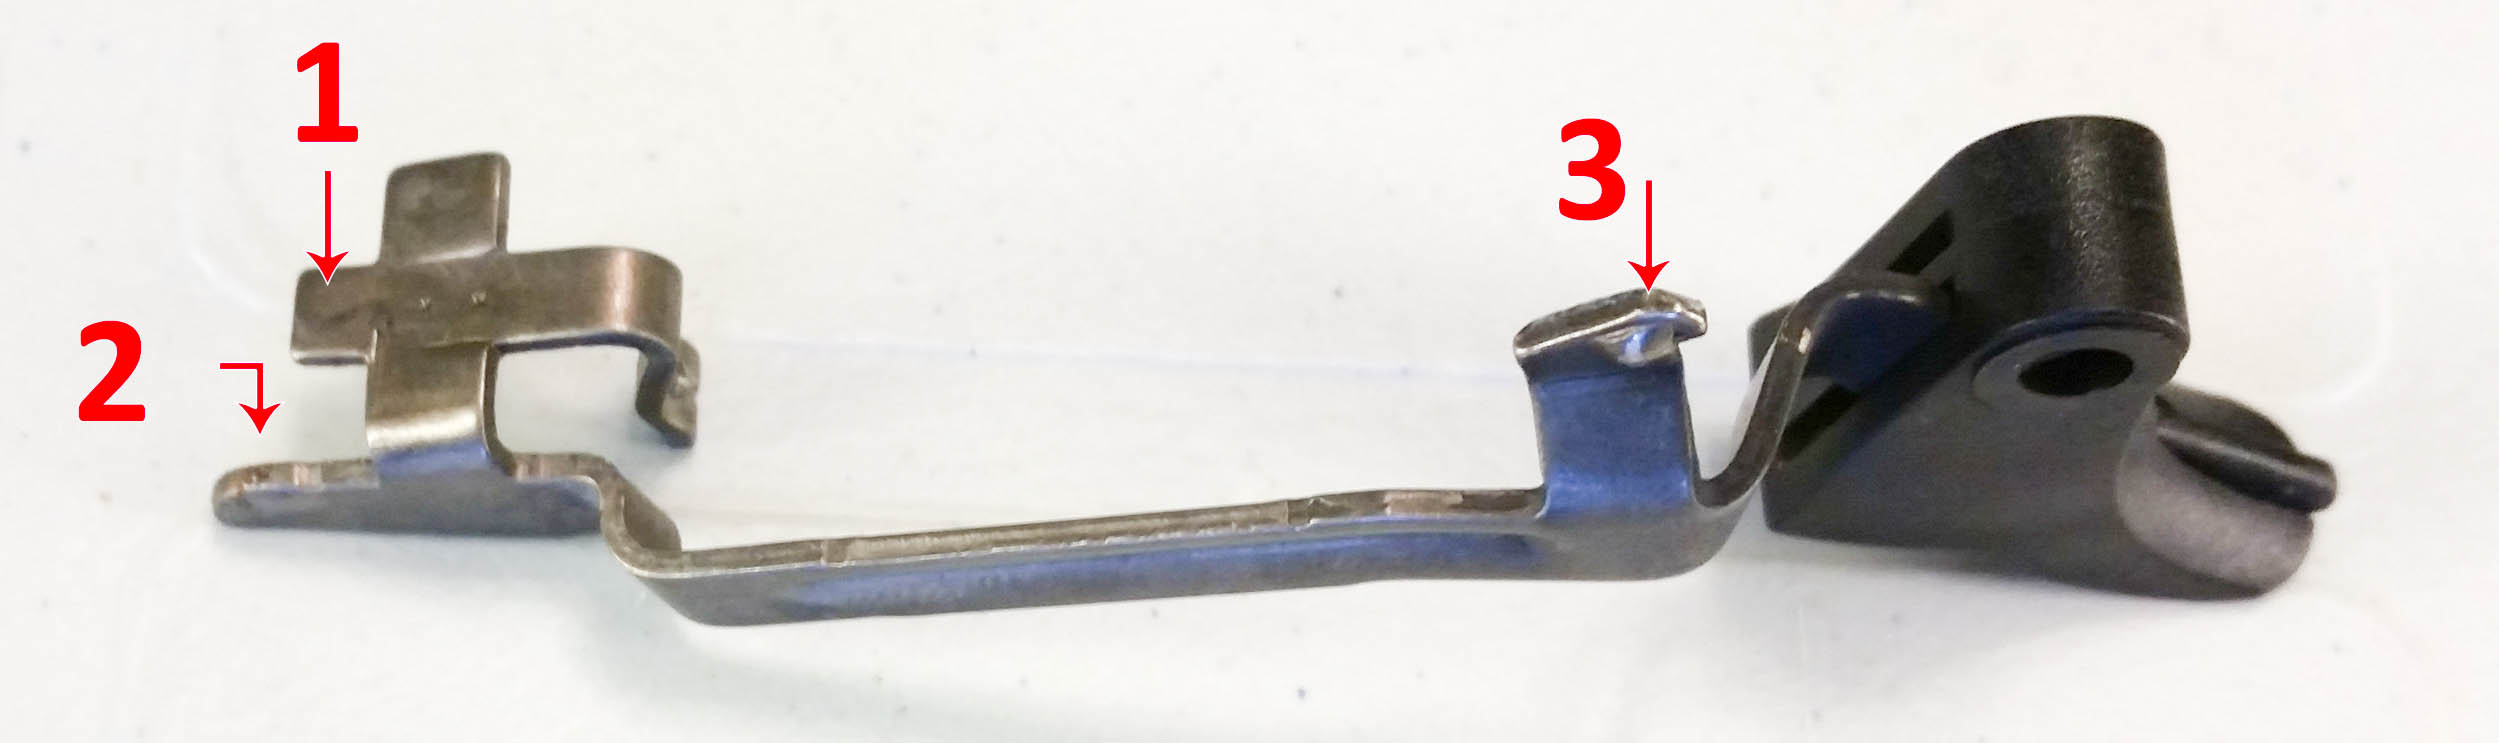
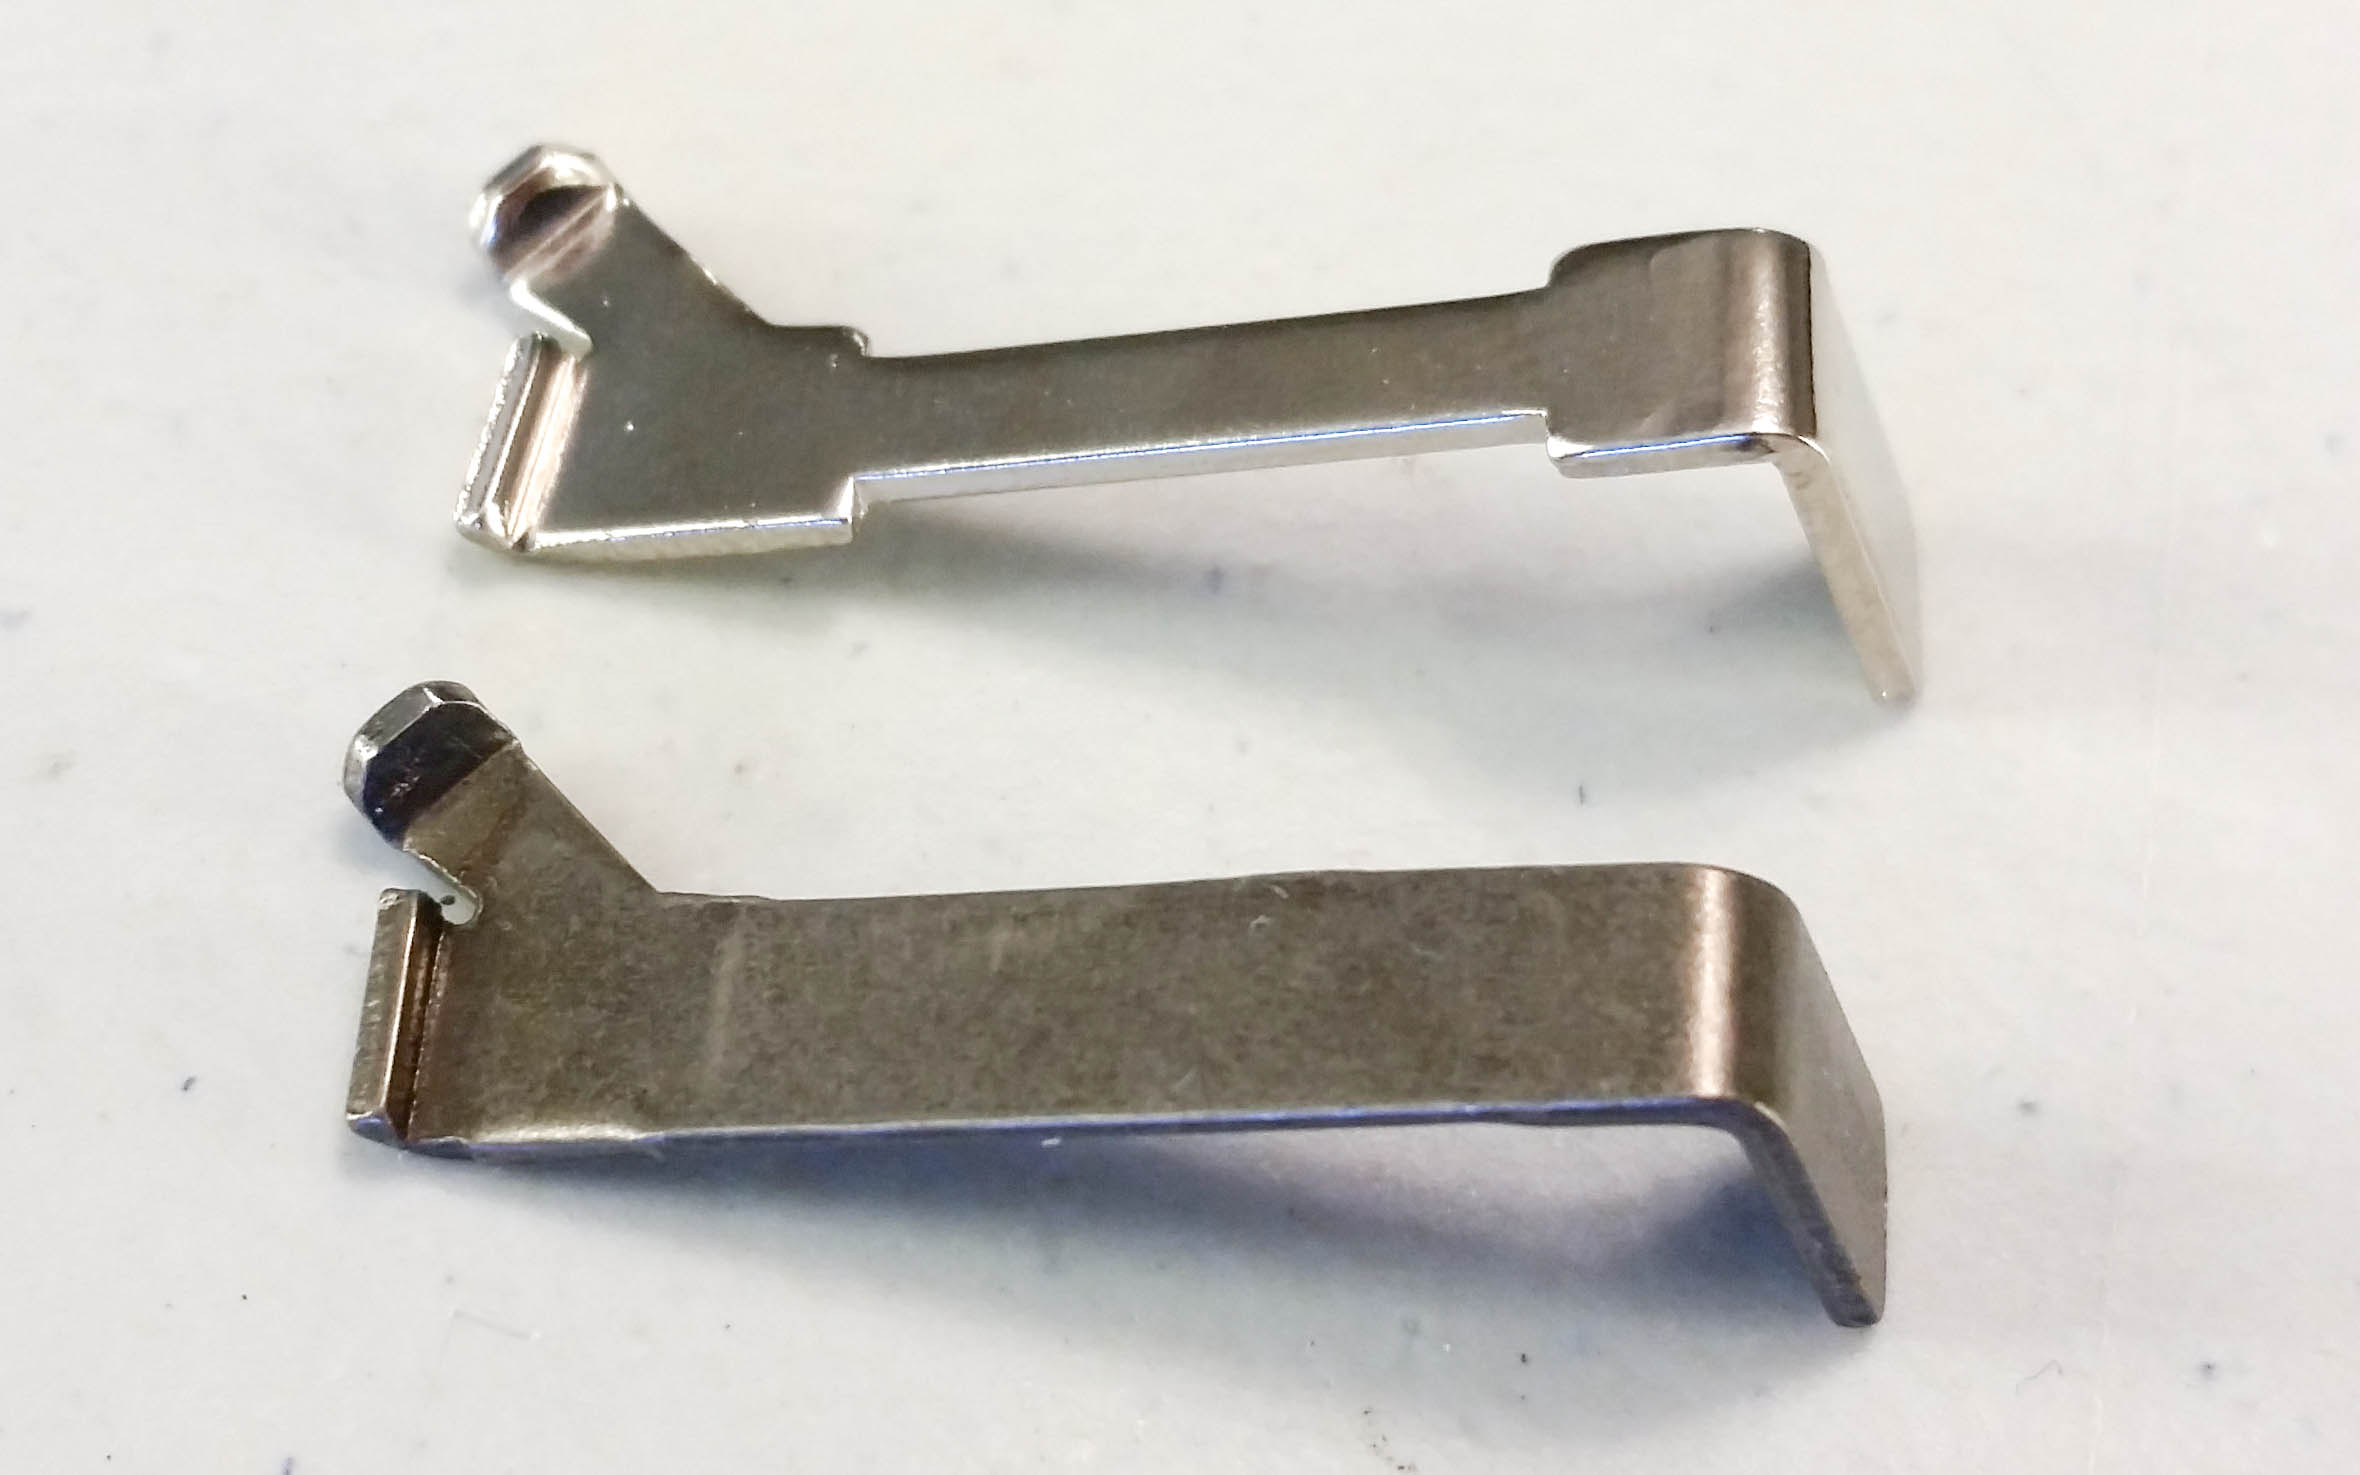
trigger bar
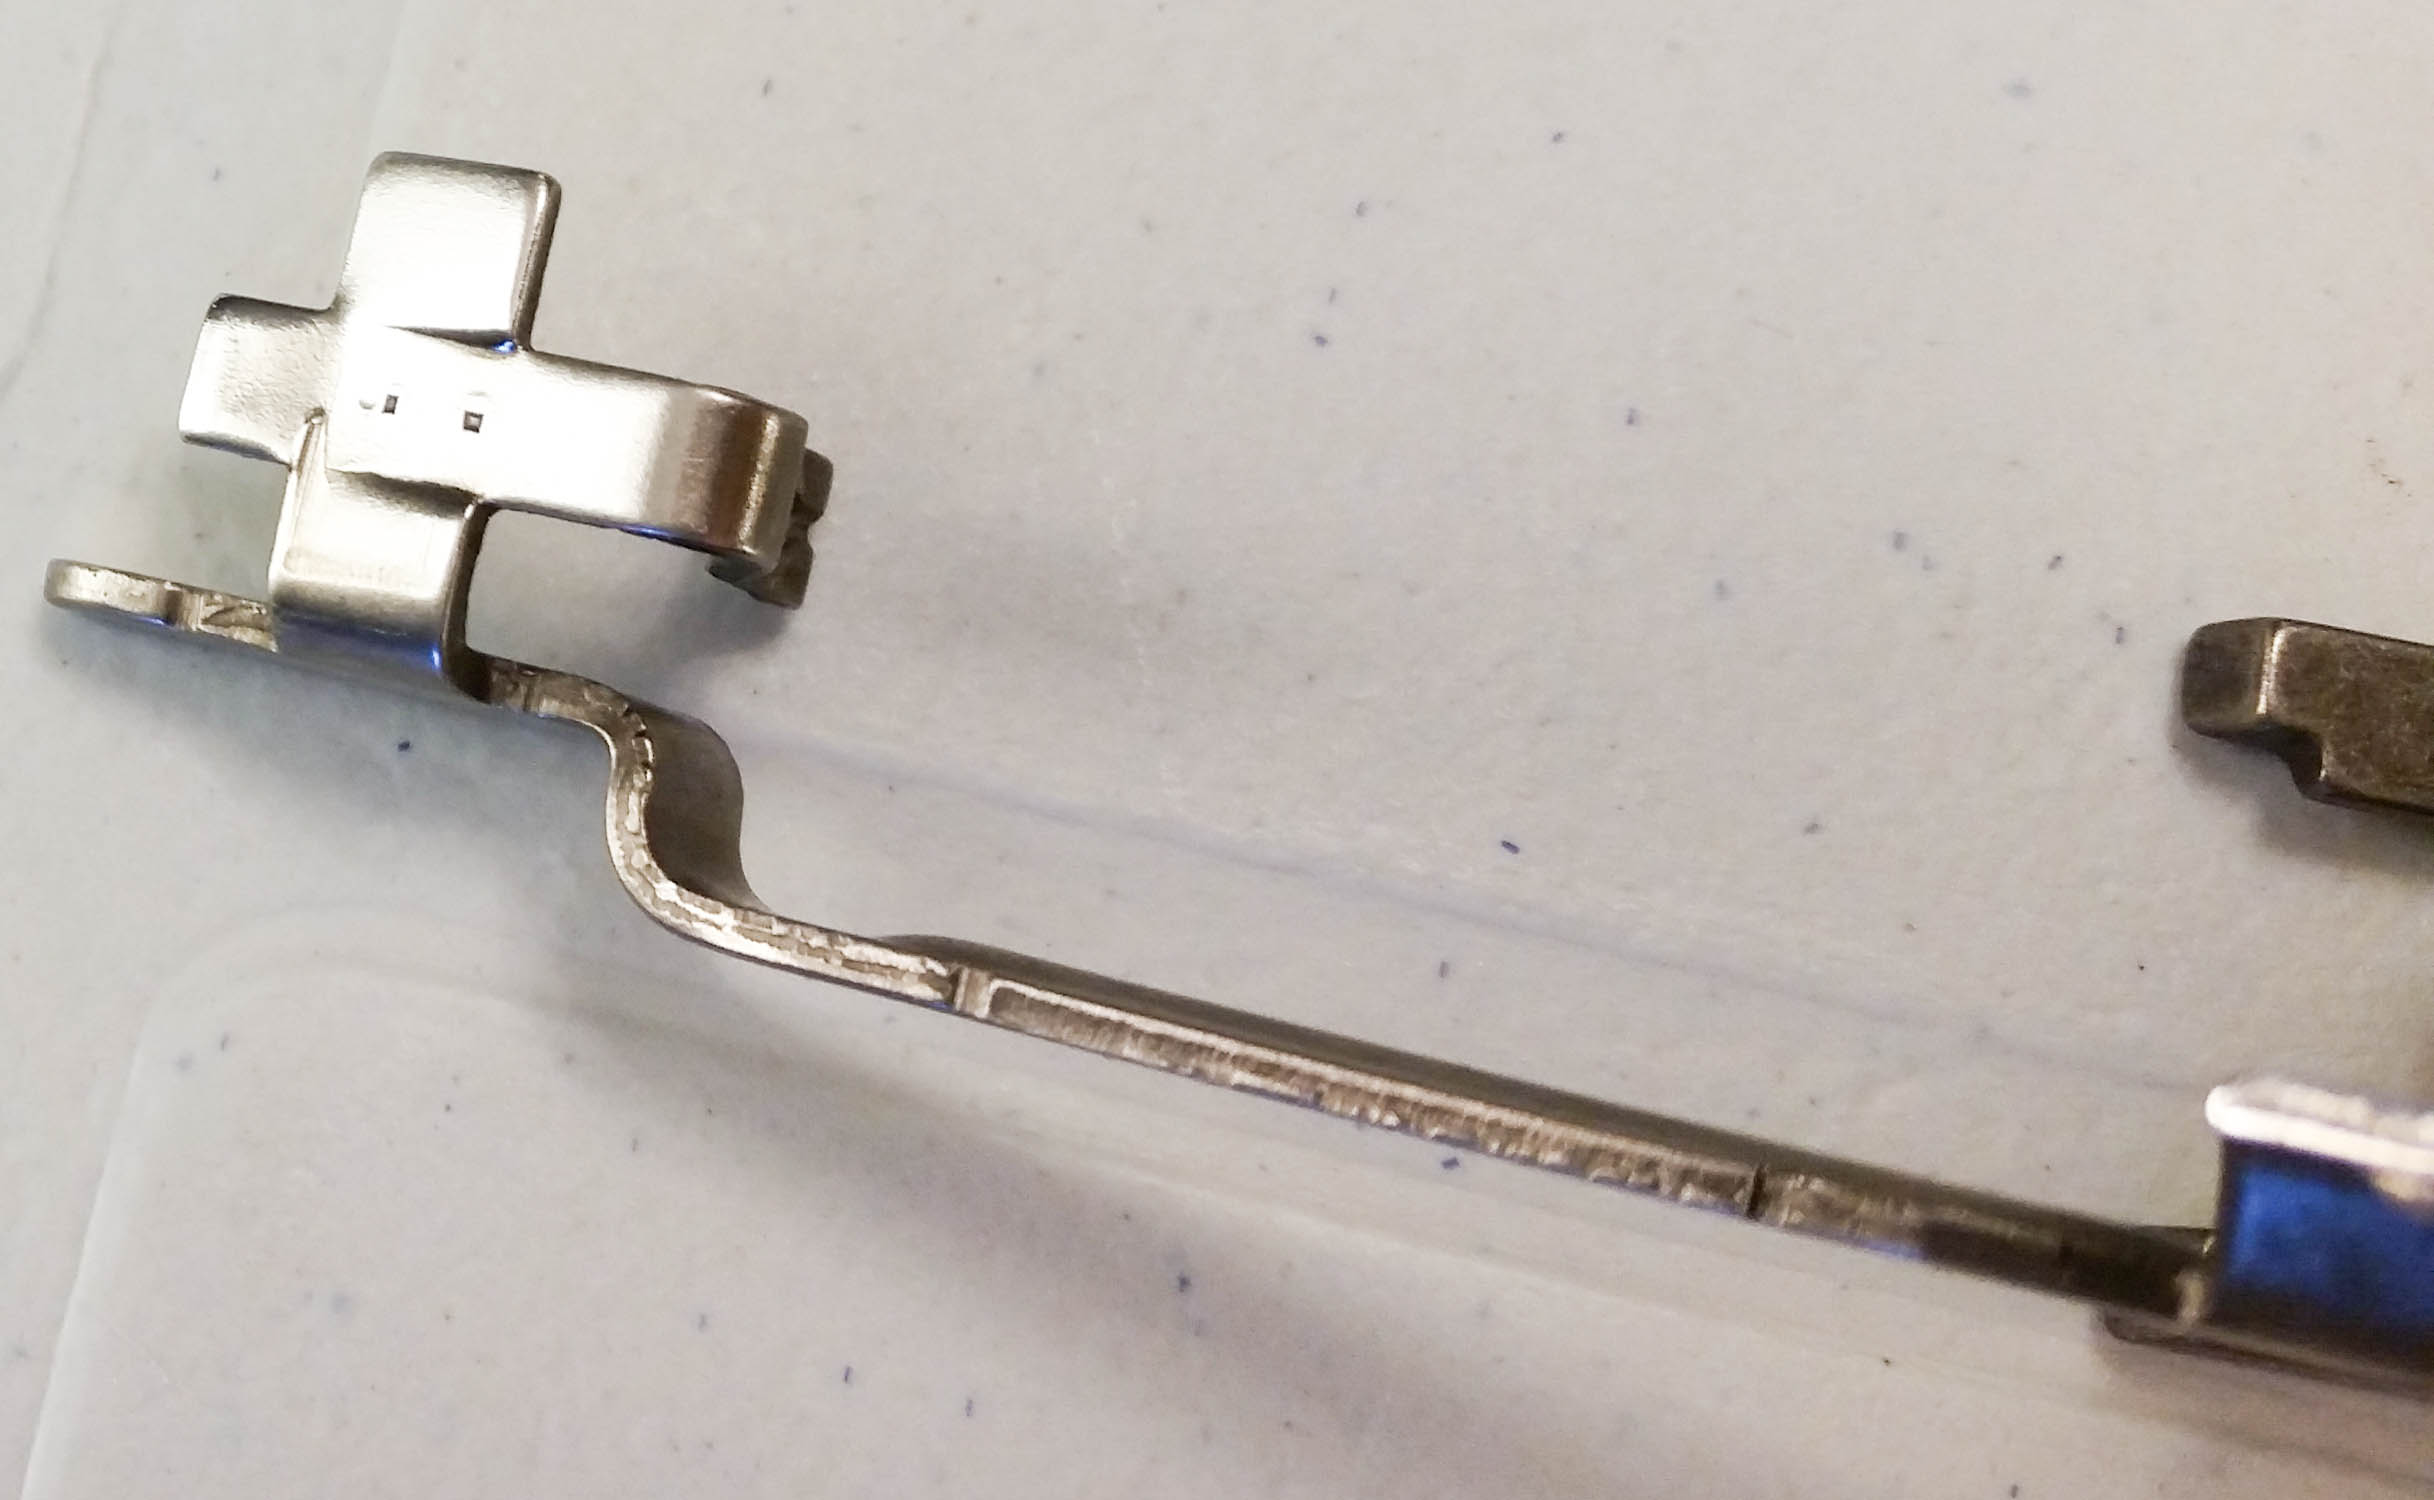
trigger bar polished top
trigger bar polished inside
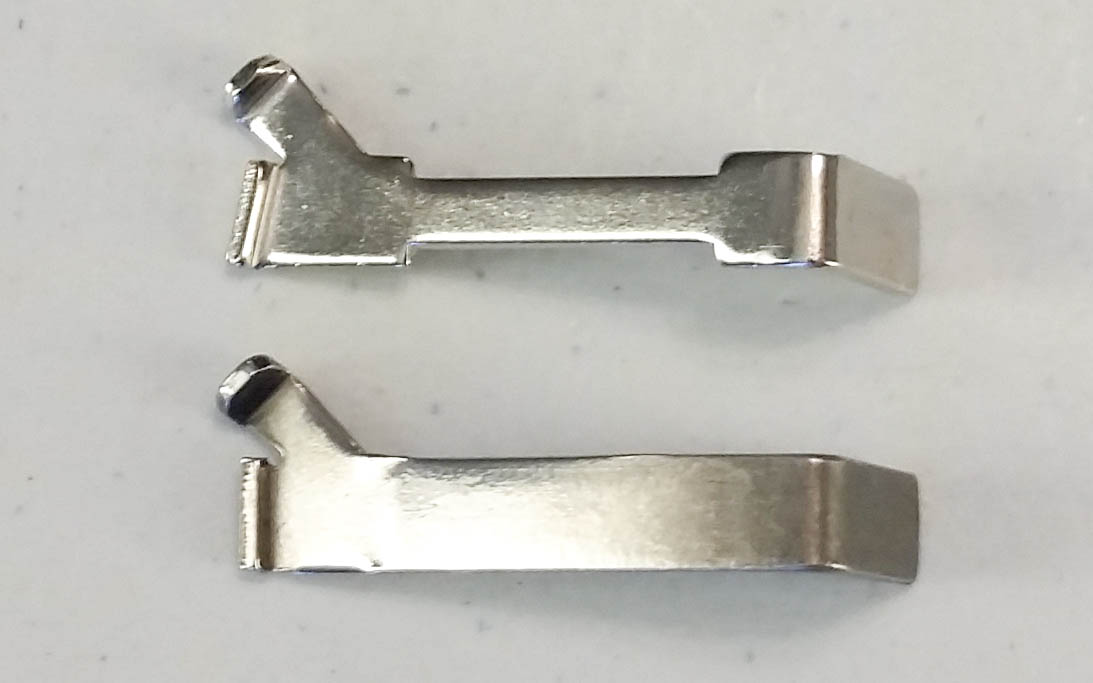
The last piece to polish is the trigger connector. It is removed by placing a flat object underneath and lightly prying and wedging. I am actually replacing this part, but the stock part can be improved as well. Polish the outside half beside the lip as this is the area that rubs against the trigger bar.
My after market replacement came polished from factory (yay).
stock connector stock connector & after market connector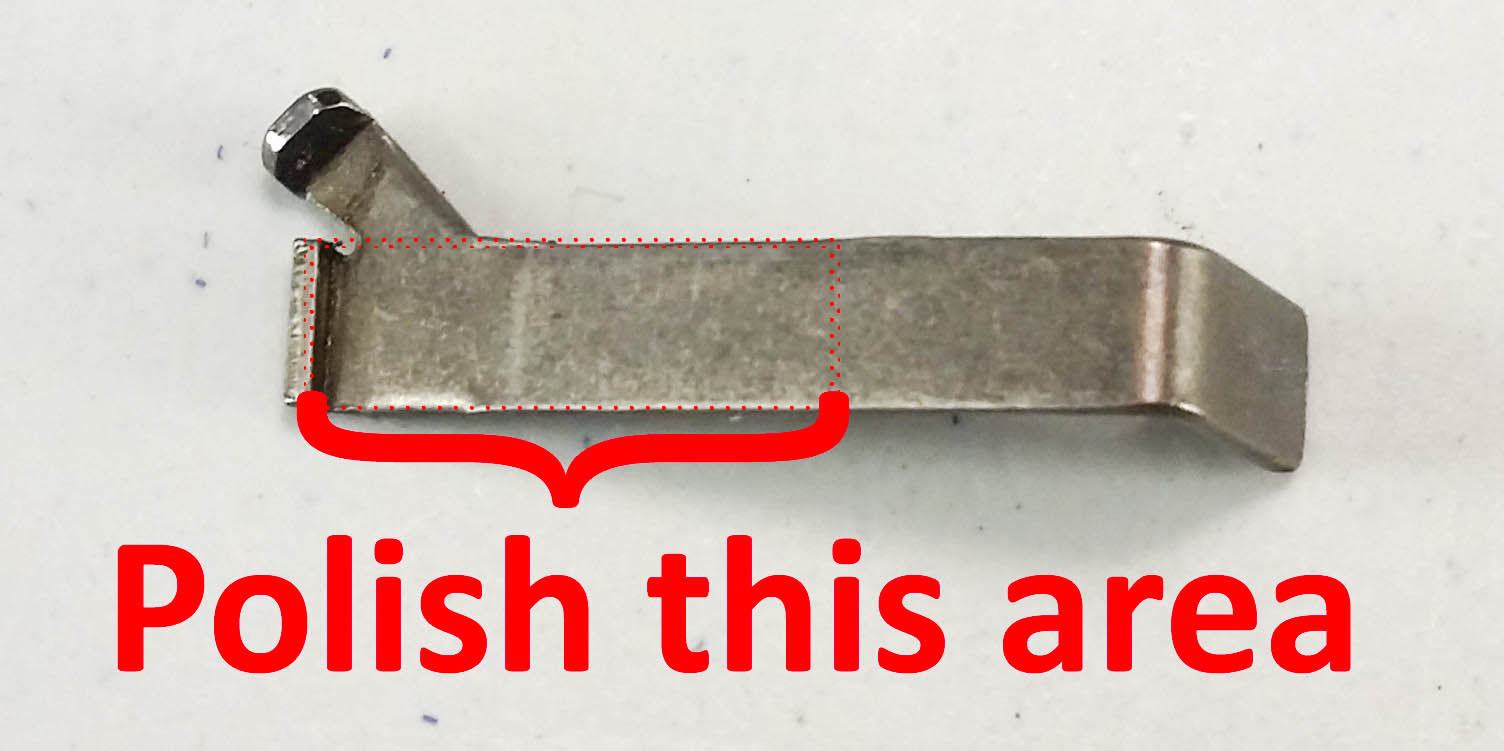
This is the stock connector polished to a point that roughly matches the after market connector:
connector polished
Put everything back together.
assembled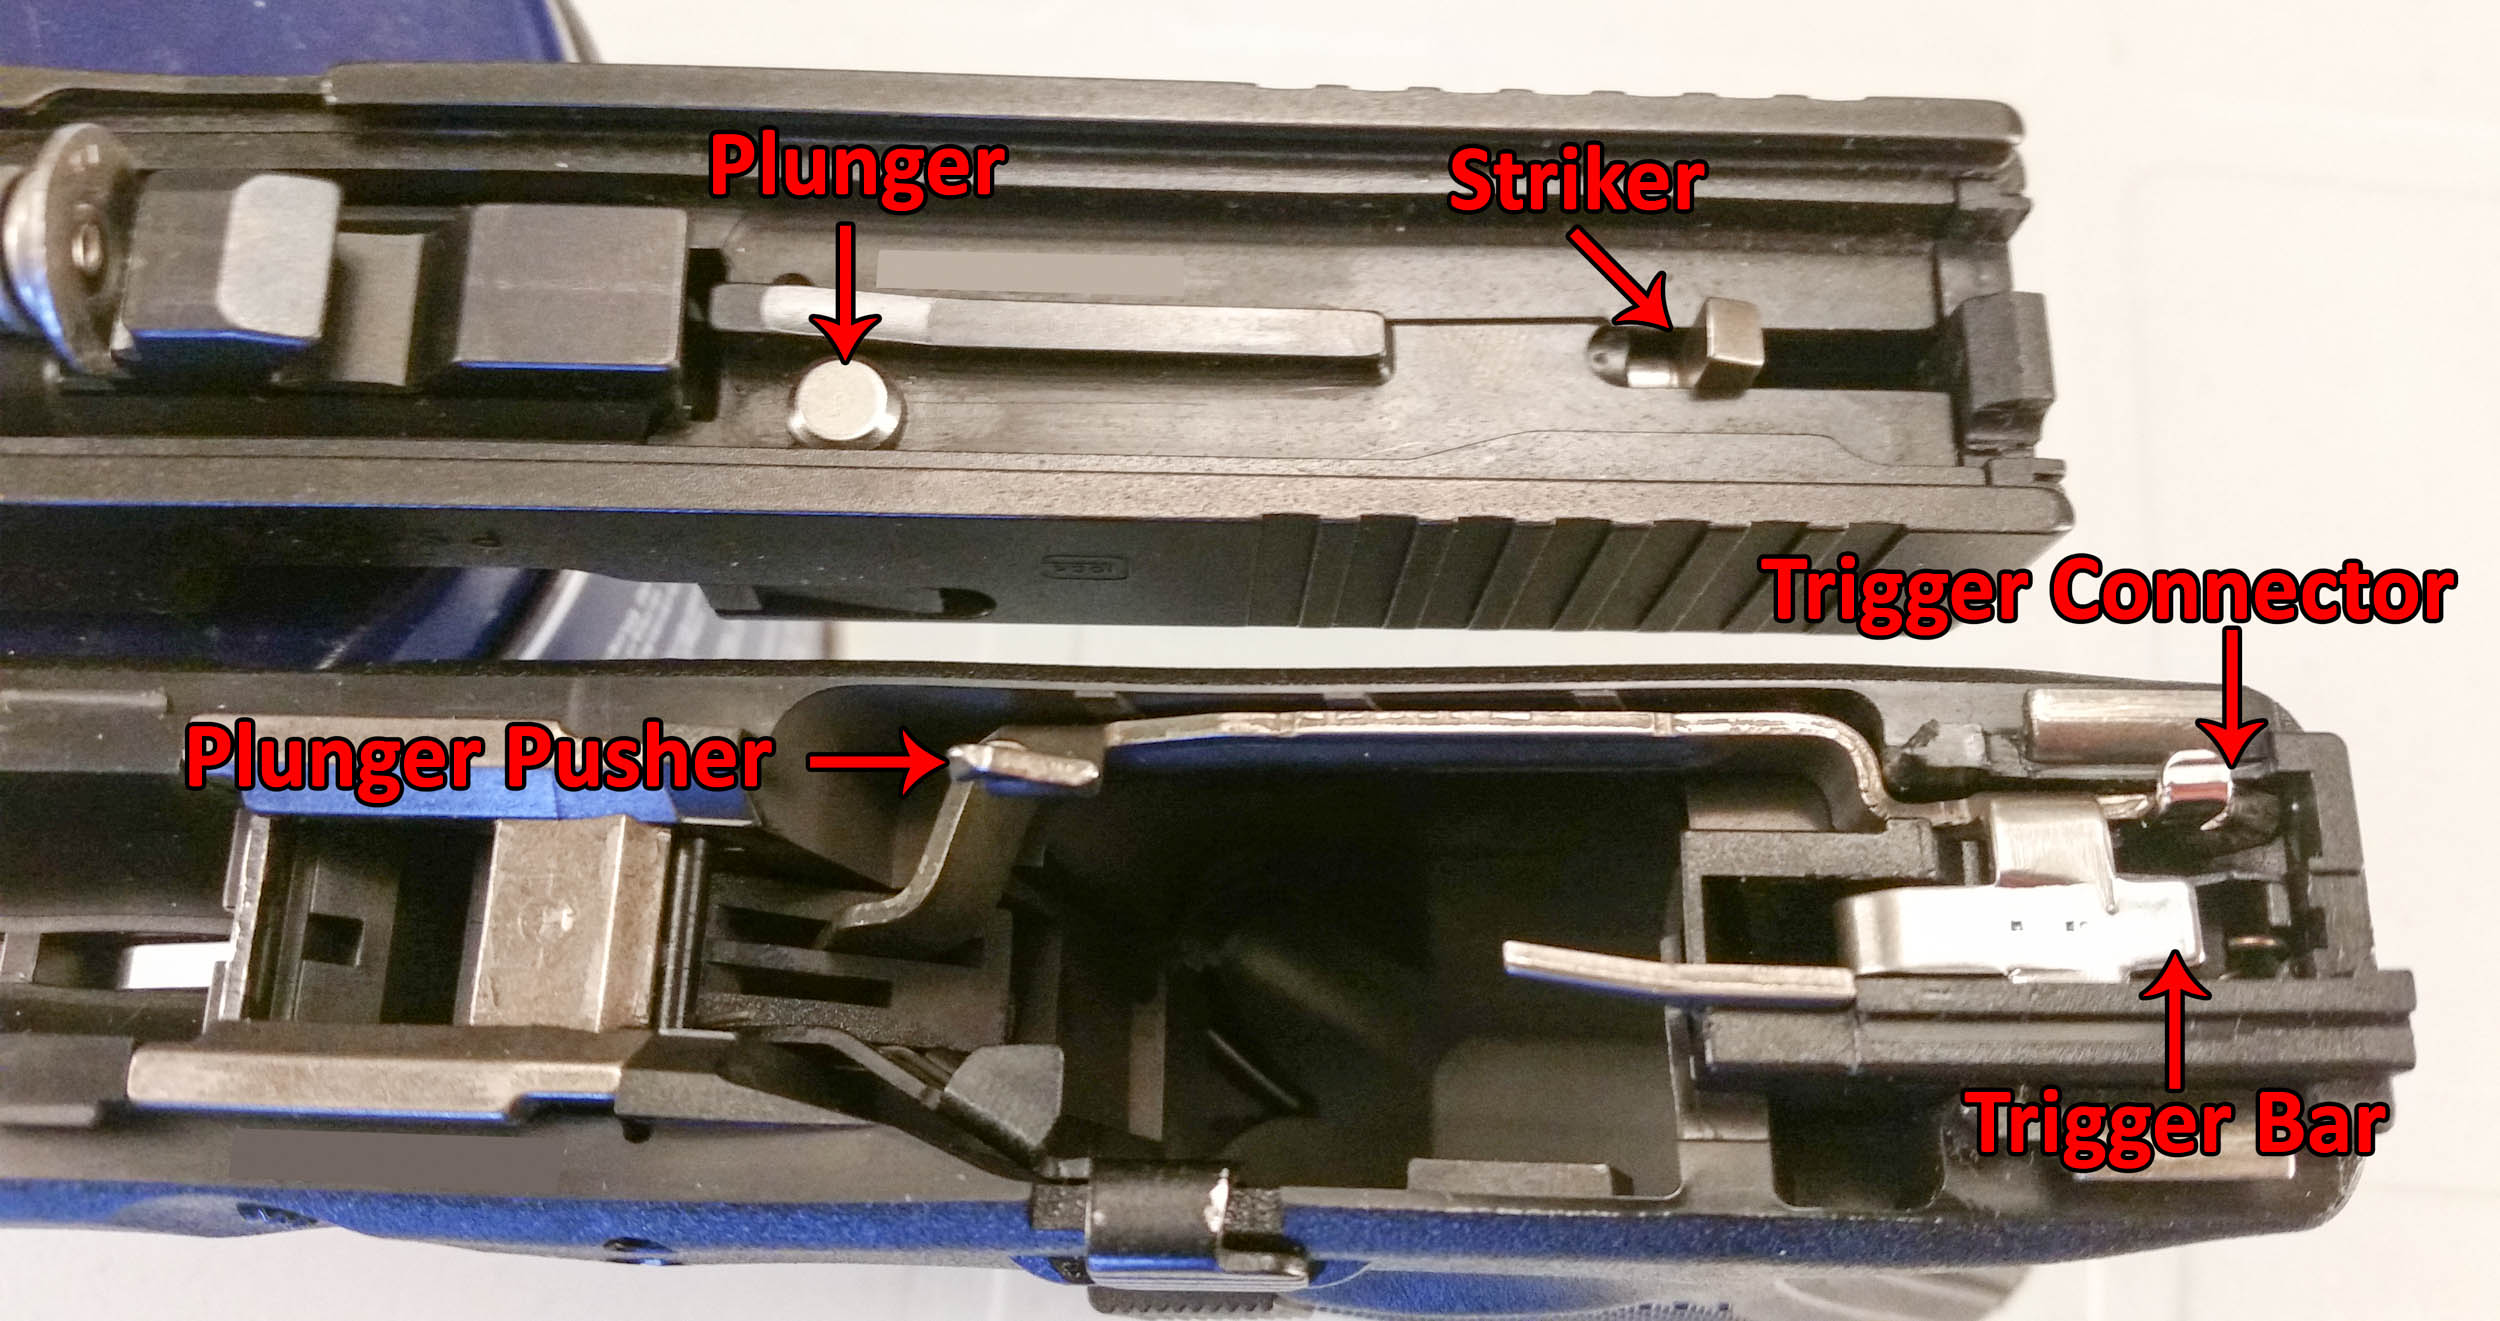

Enjoy your trigger job and polishing-induced carpal tunnel.