POSTS
My First Mechanical Keyboard Project
I decided I would like to try a mechanical keyboard but an off the shelf option just wouldn’t do. Here were my requirements:
- small form factor (tenkeyless, no numpad)
- function key row
- OSX compatible (media keys, other shortcuts)
There are a variety of options and feature levels out there but I chose to go with one of the most basic options: a Filco Majestouch 2. The most important aspect about this model is that there is a replacement controller available with which I can use firmware that enables custom key maps and functions.
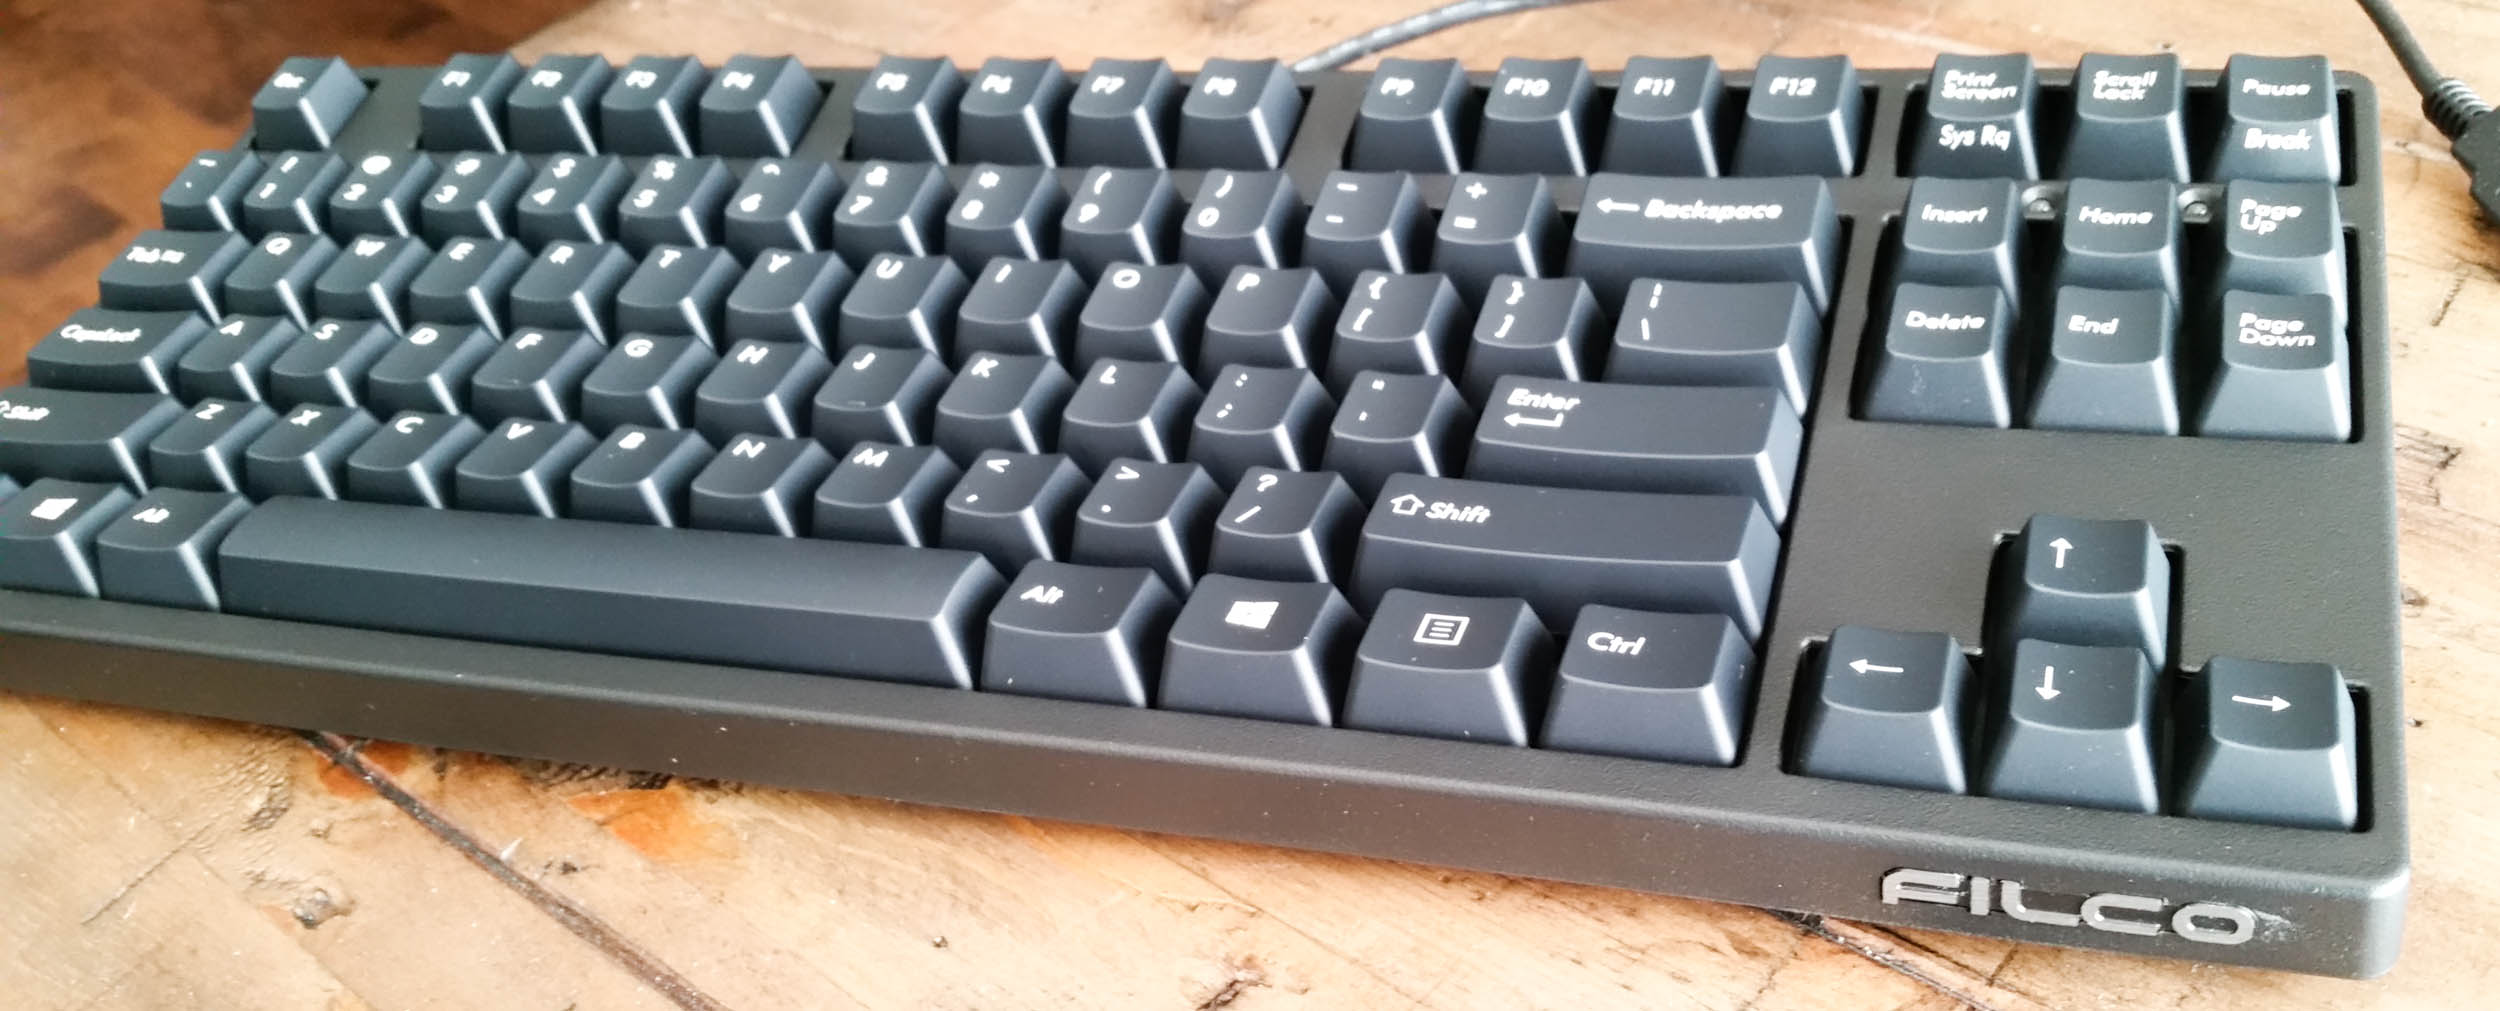
keyboard in box Filco MJ 2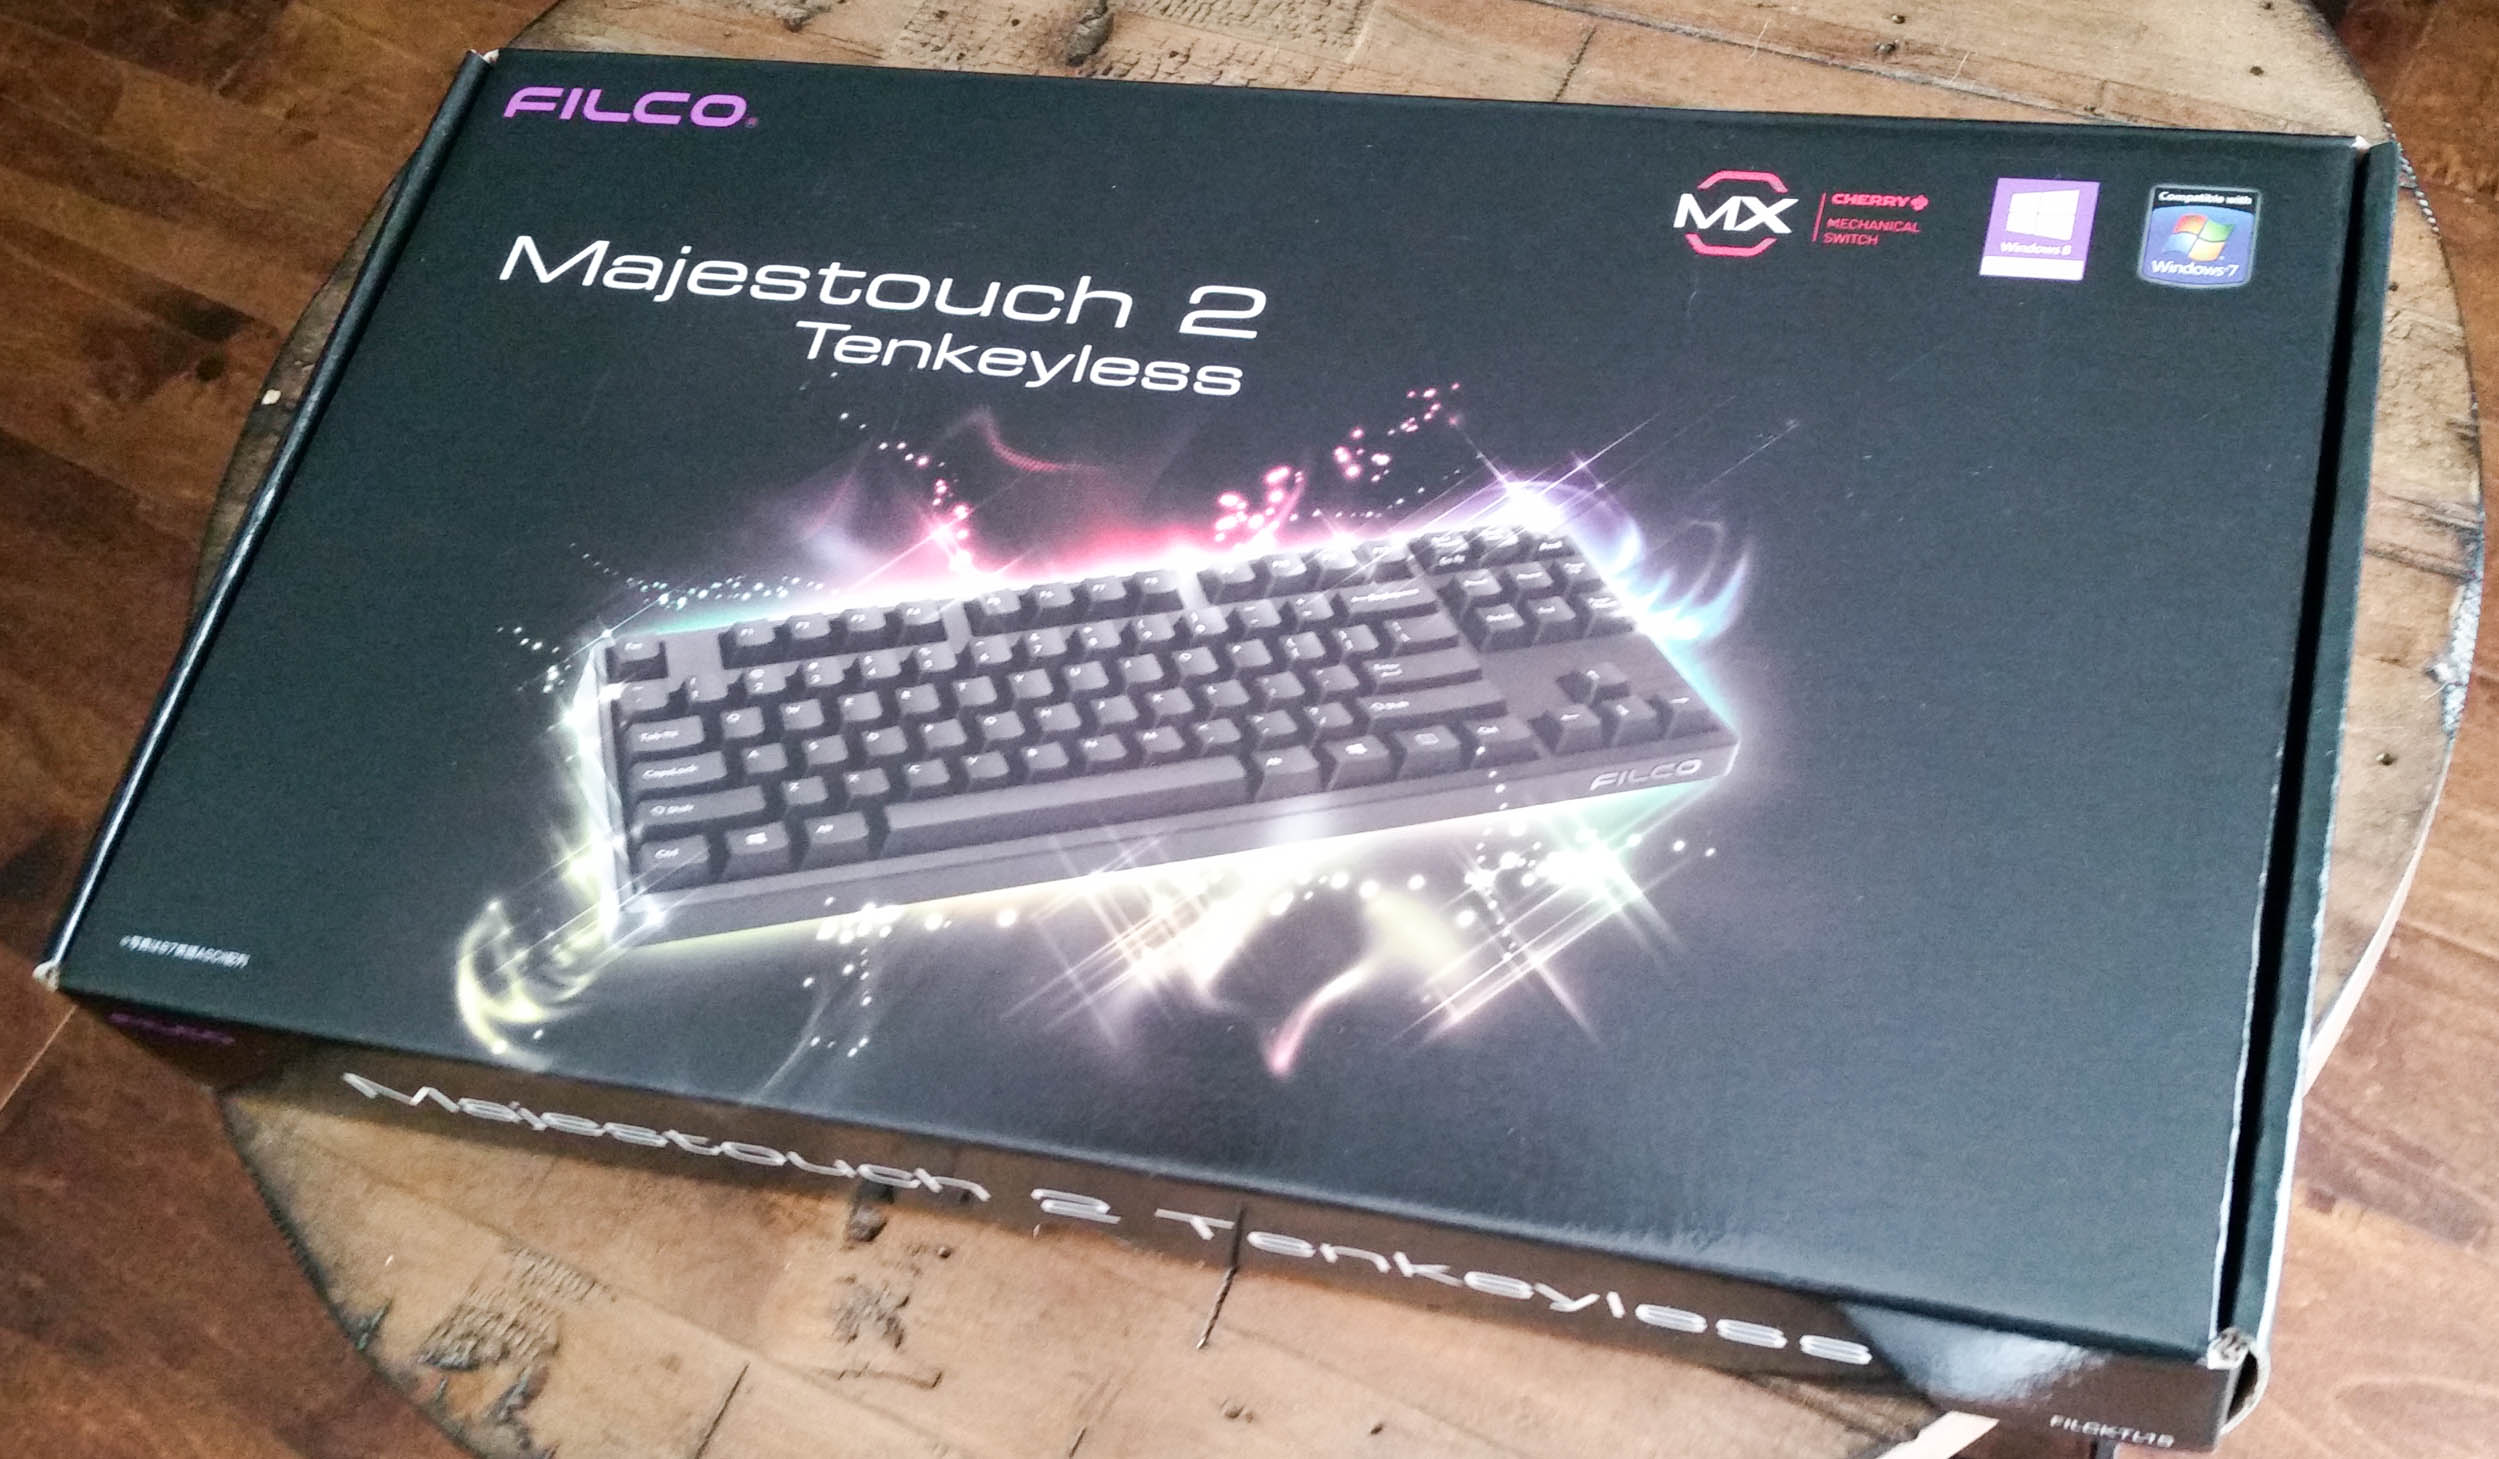
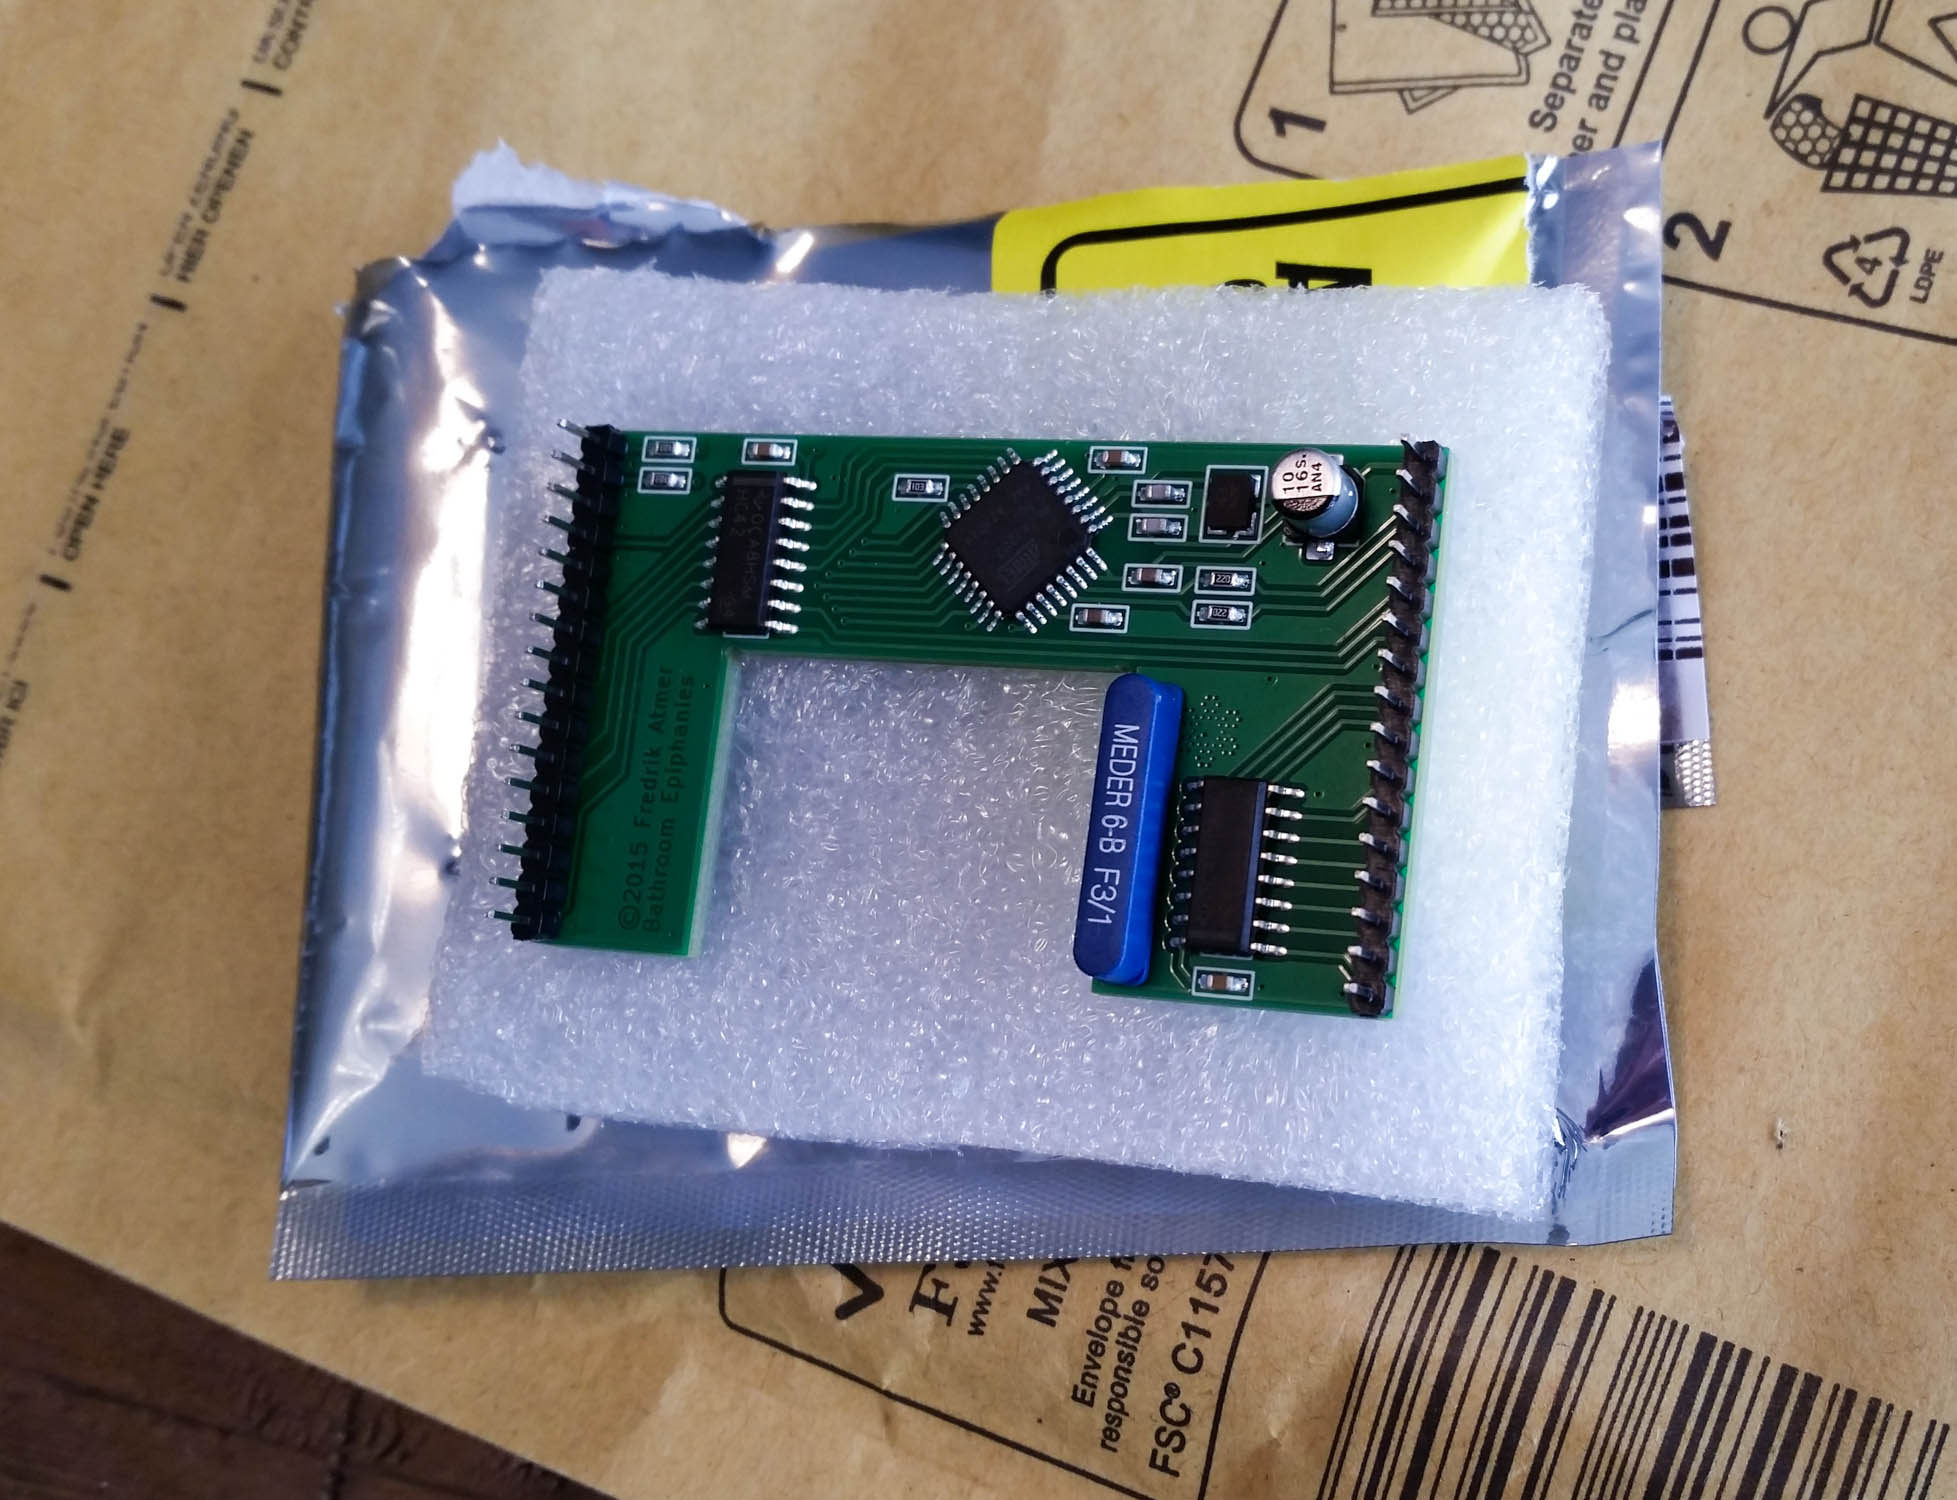
The replacement controller, Pegasus Hoof, is built by Bathroom Epiphanies.
safetly and securely packaged Pegasus Hoof PCB Pegasus Hoof business end

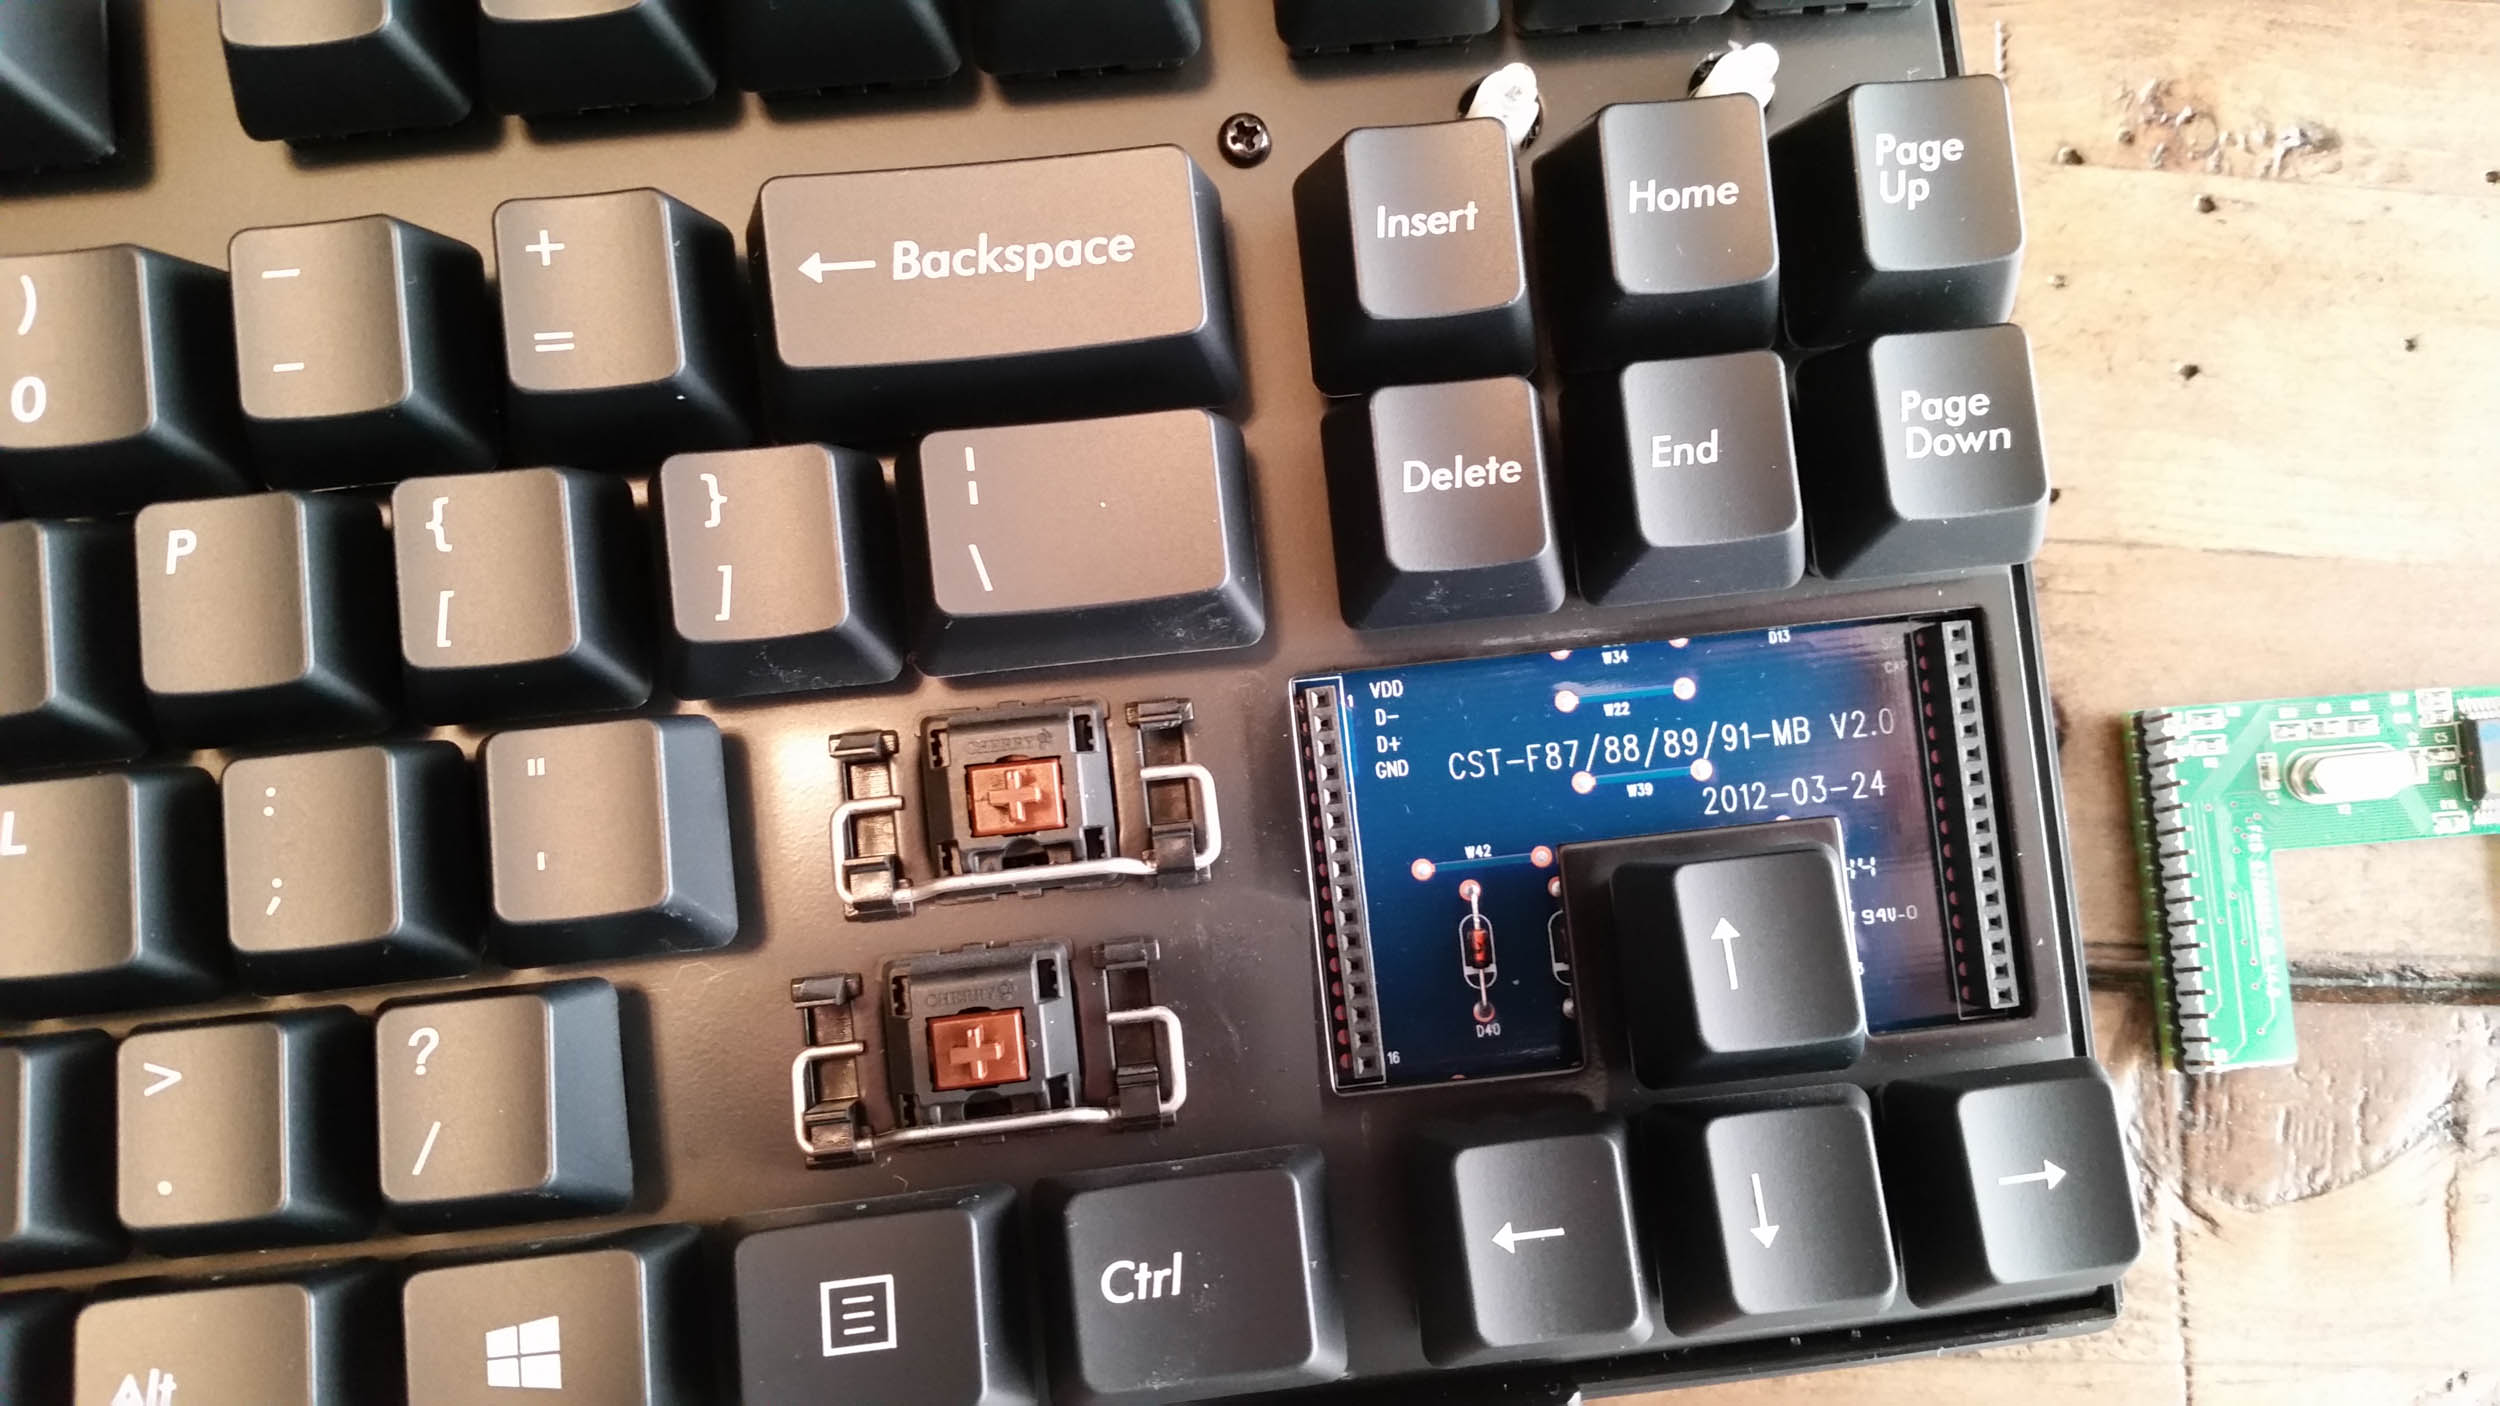
To replace the controller board, partial disassembly was required. The top of the case was removed by unscrewing the one screw on the back and disengaging the tabs that hold the top half to the bottom half.
The top removed, plus shift and enter keys removed to expose the Cherry Brown key switches. This provides easier access to the controller when removing it. stock controller removed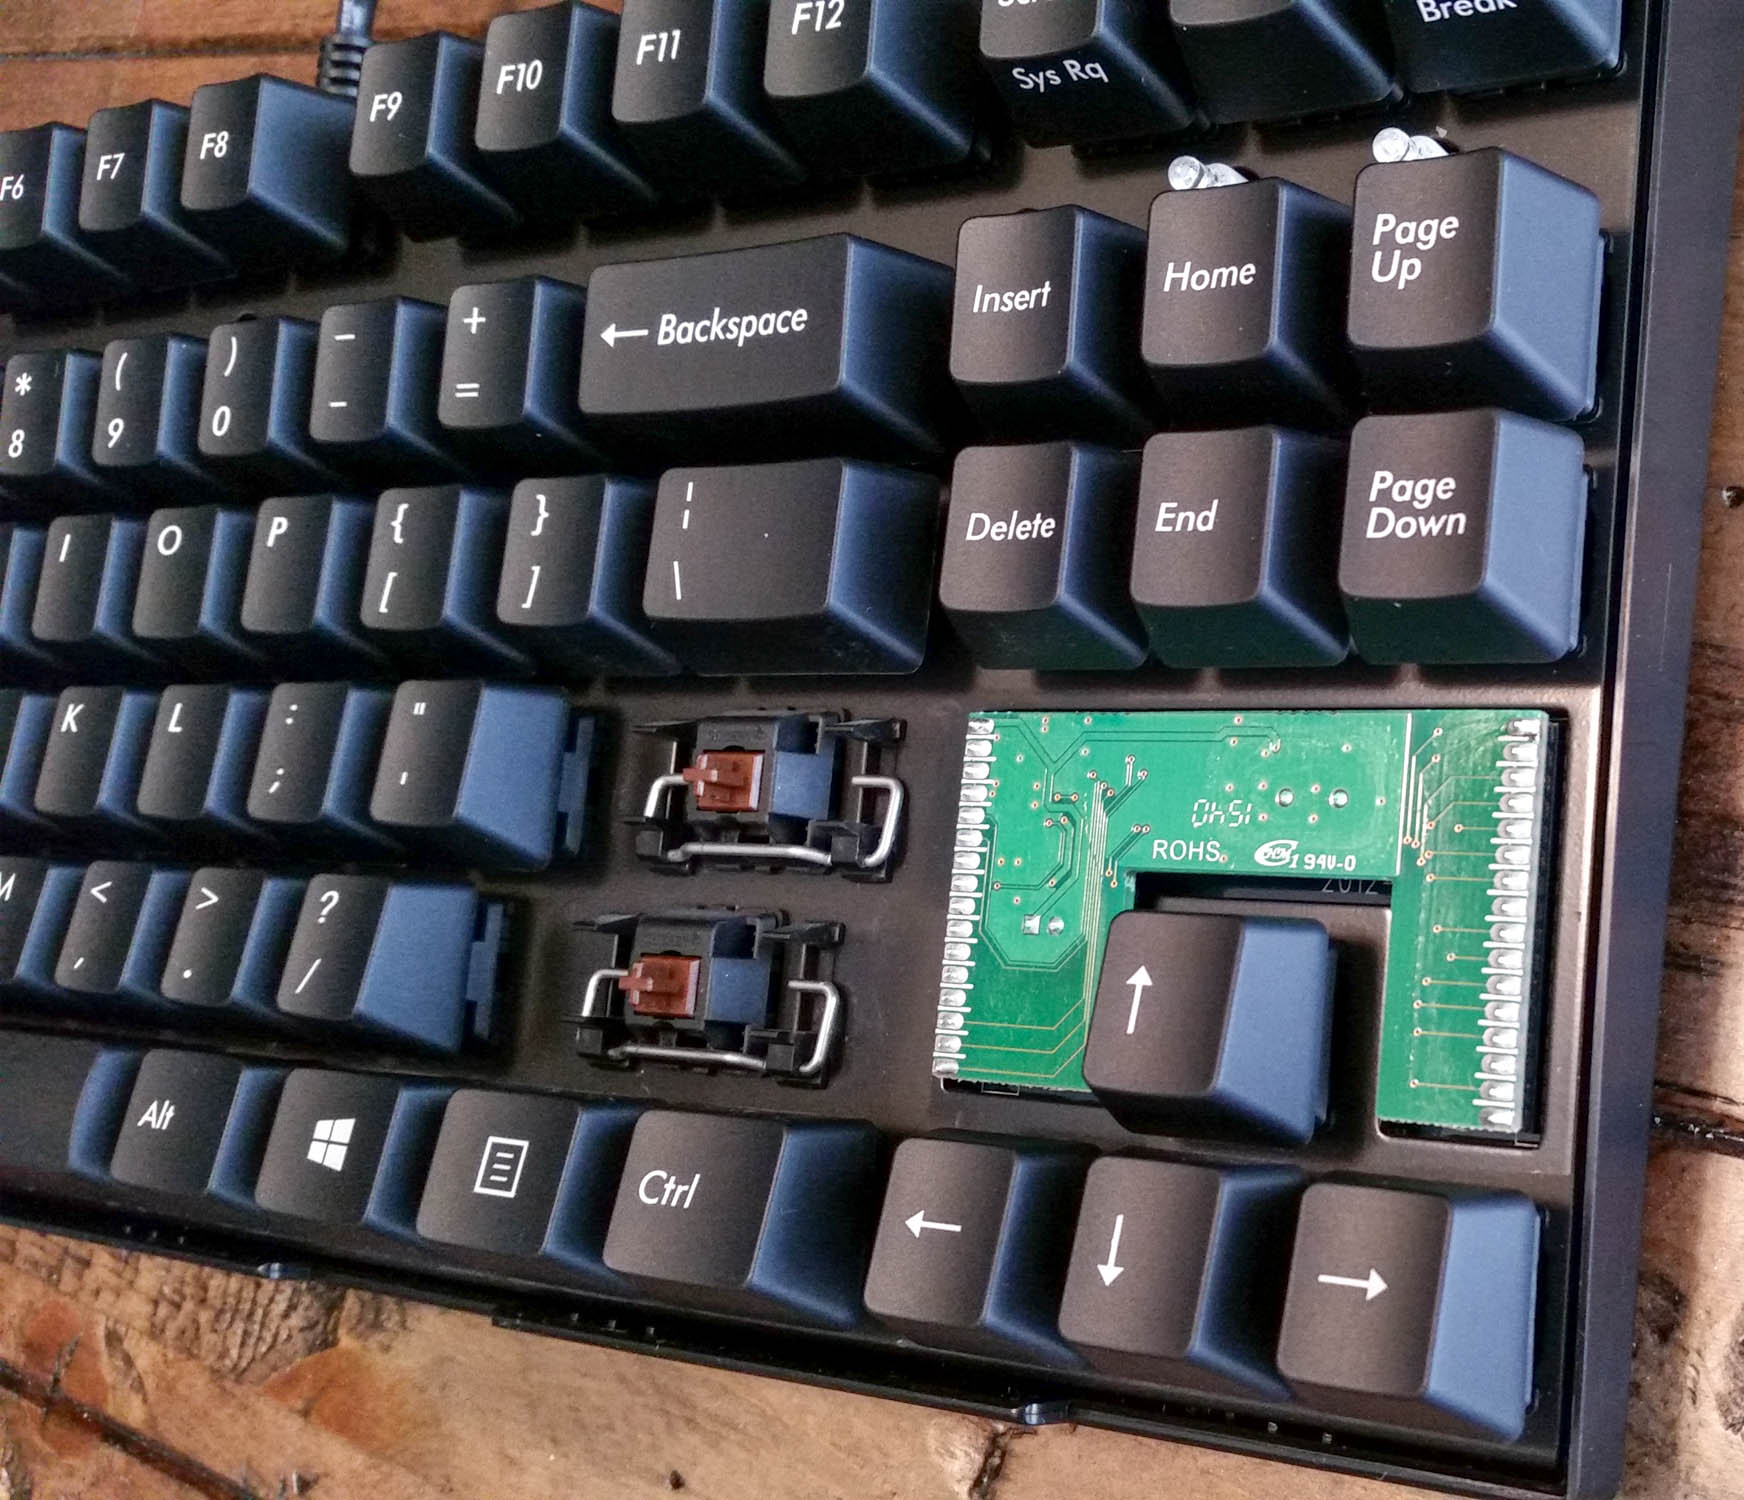
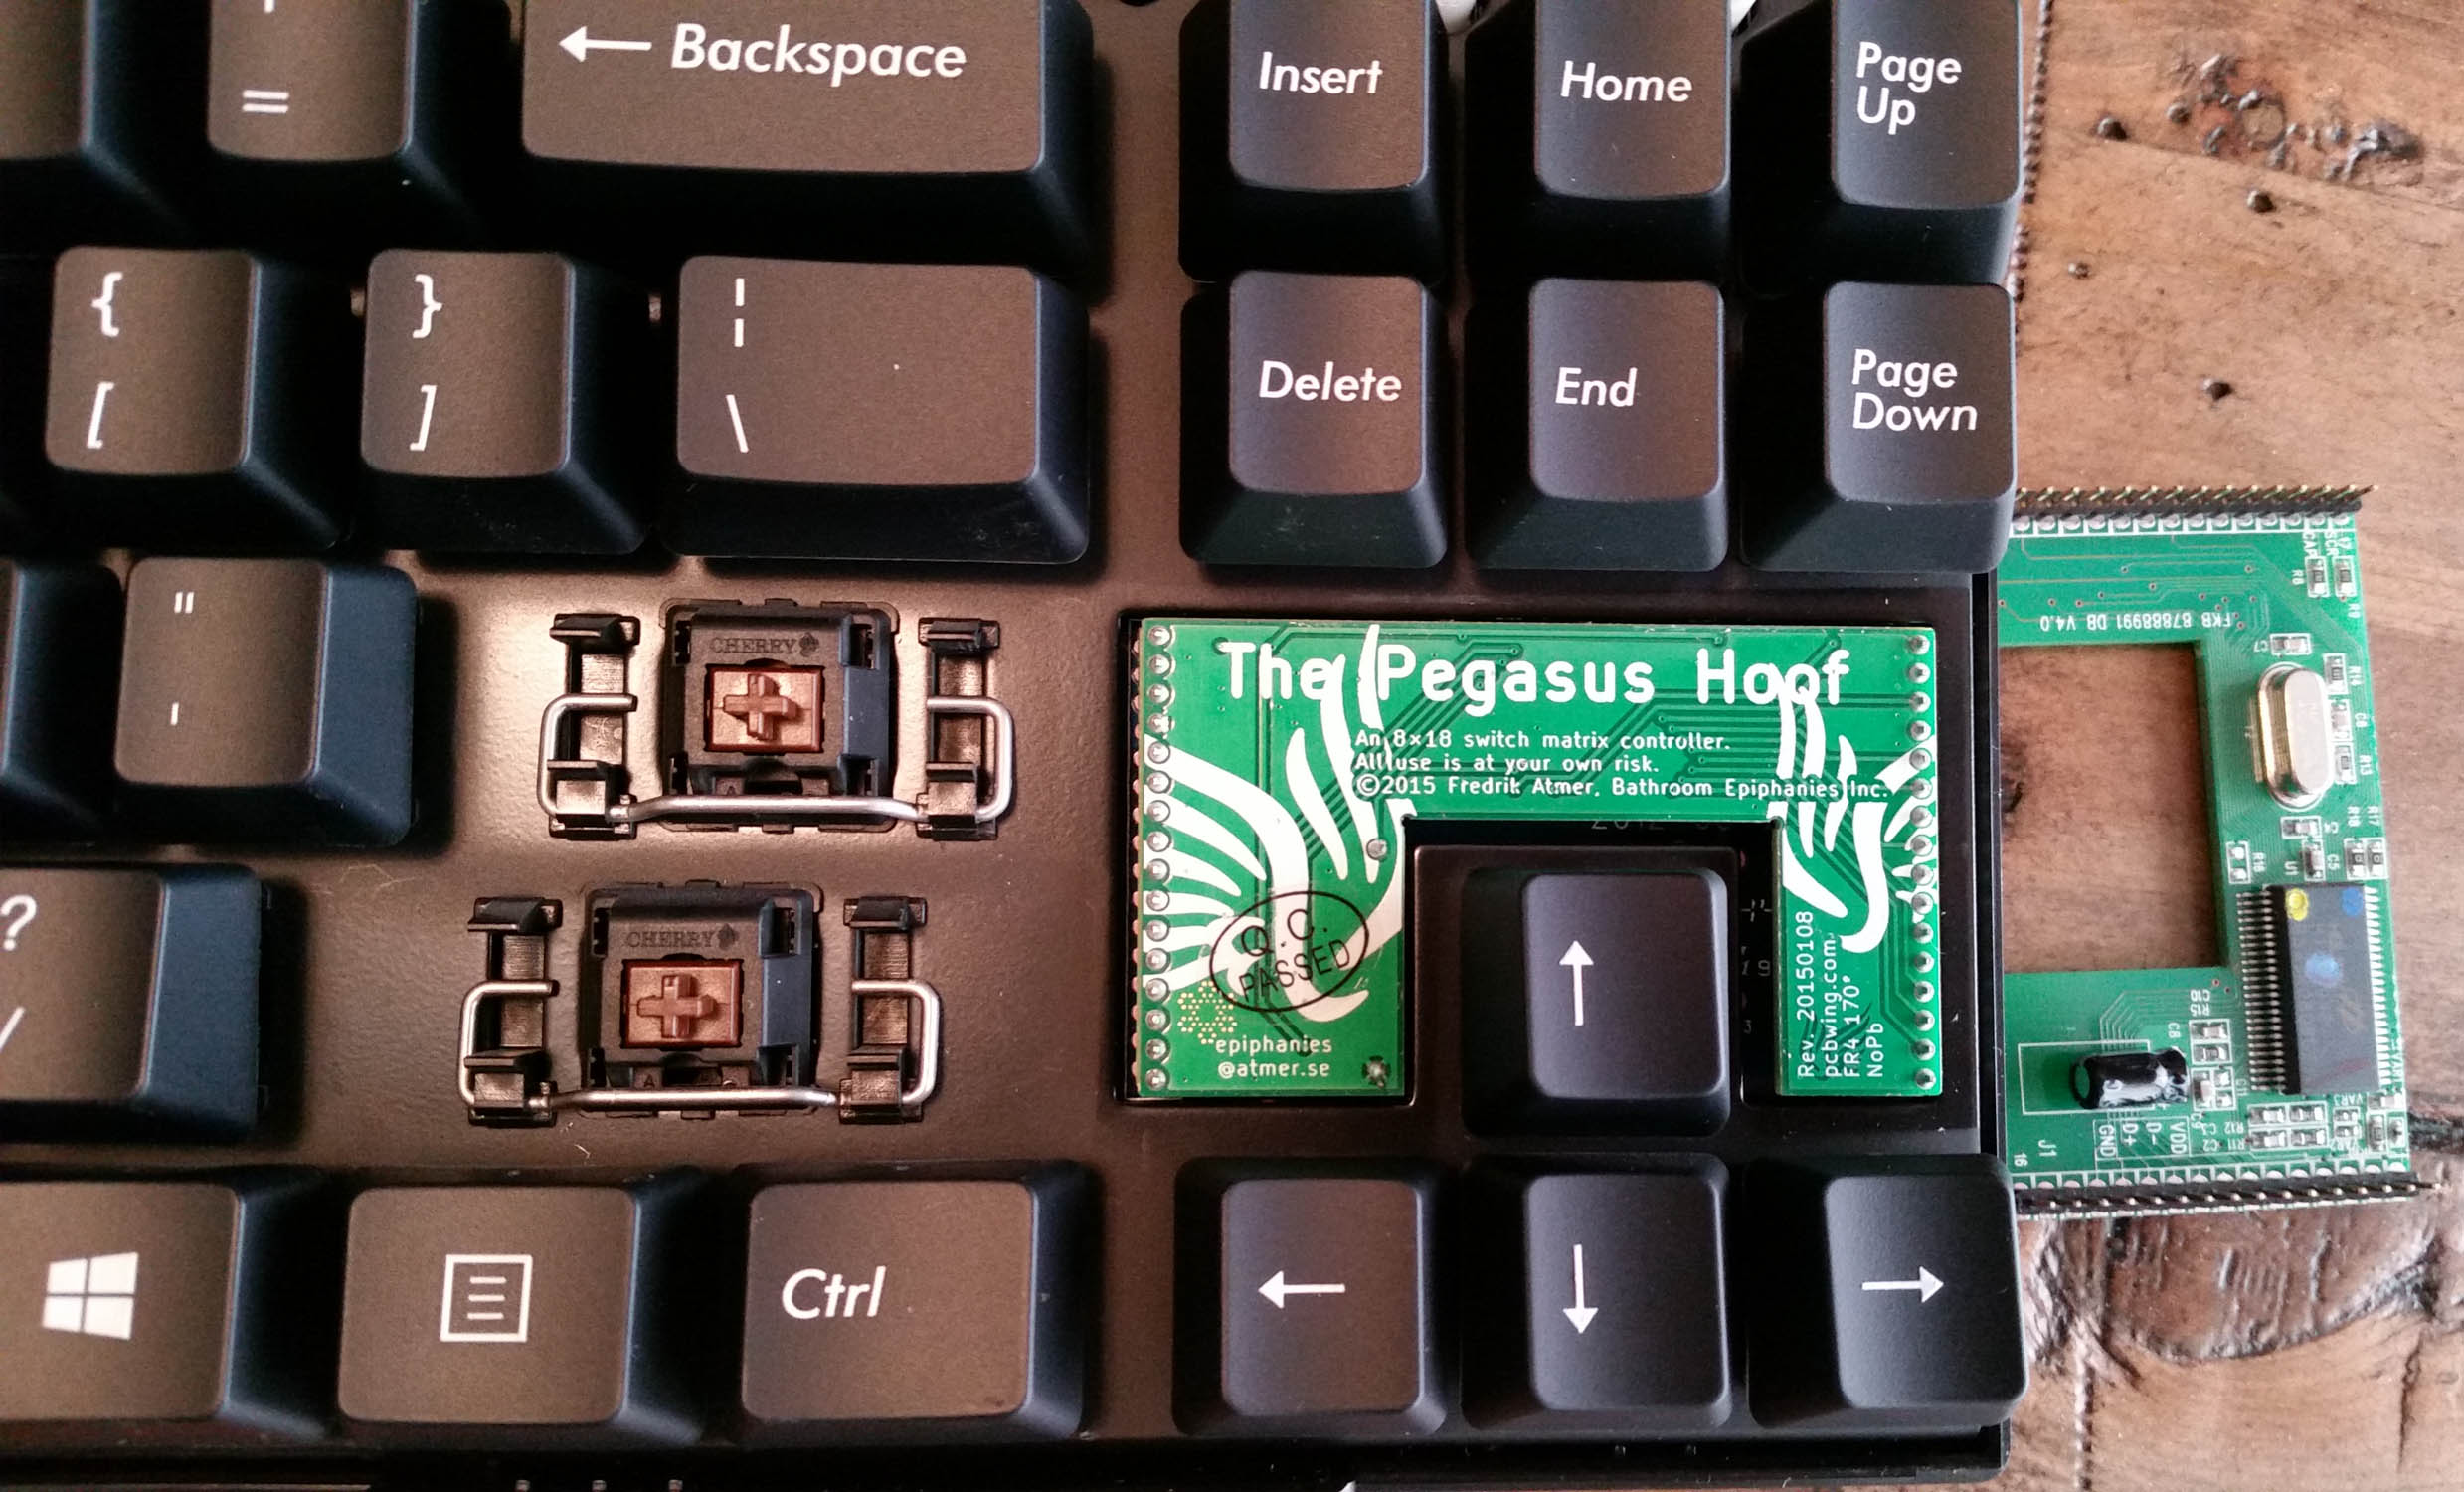
Pegasus Hoof installed
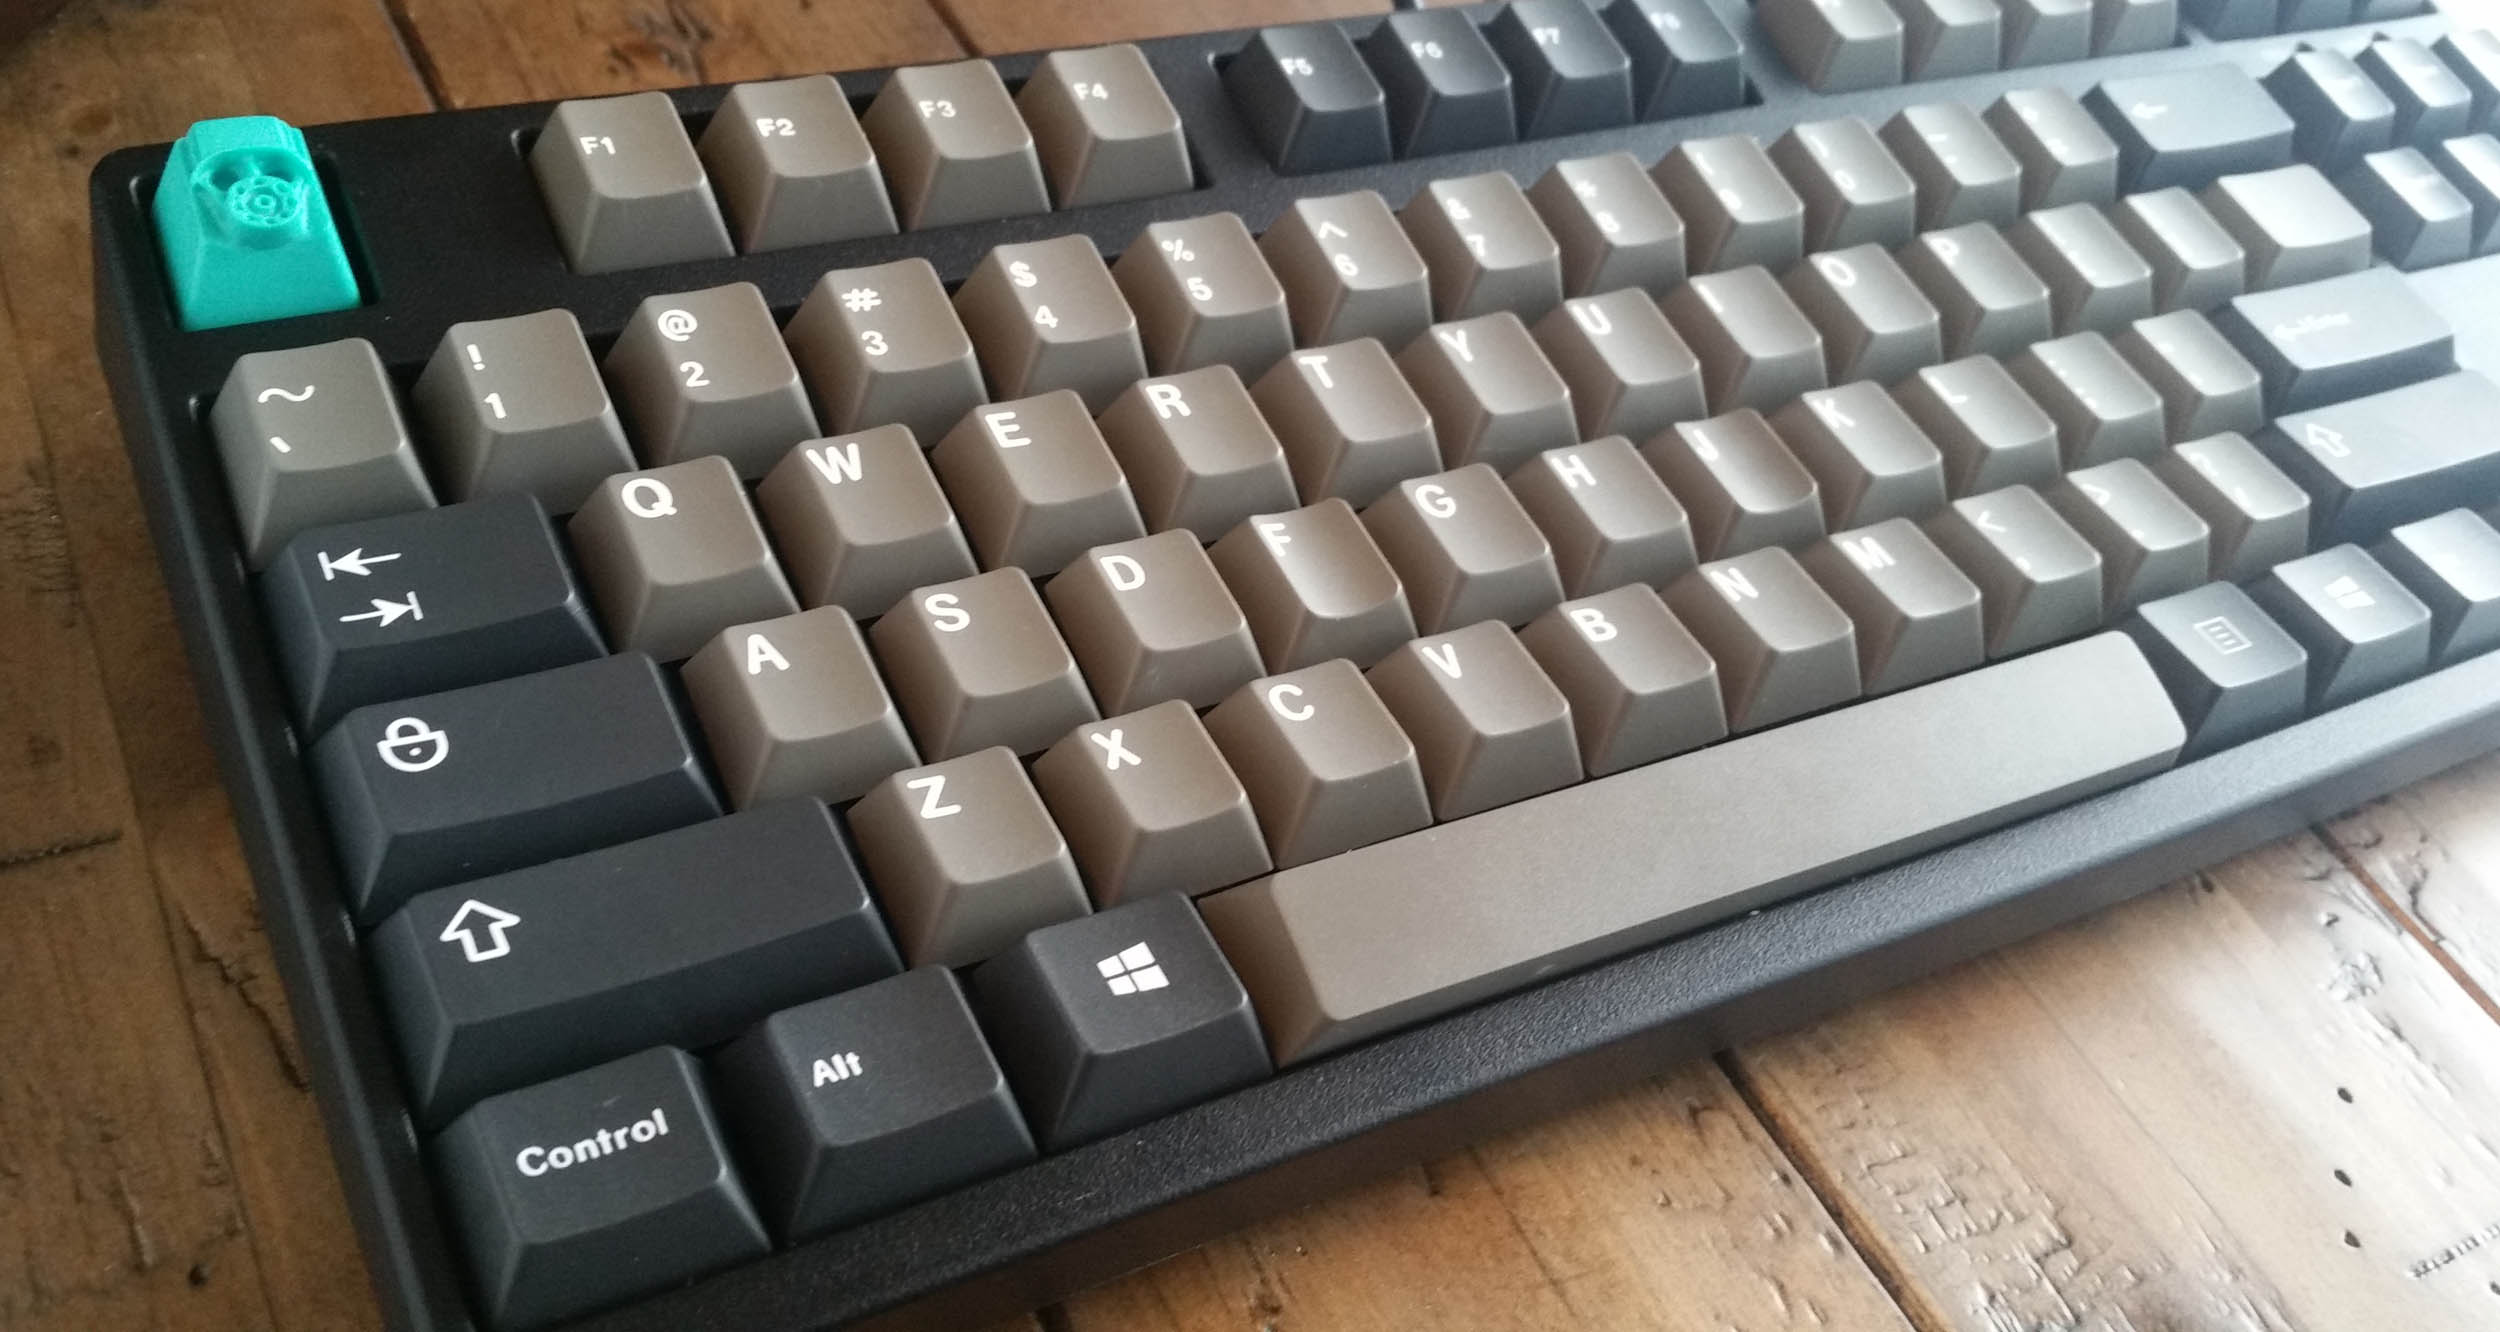
After the controller was installed, I replaced the stock key caps with a high quality set manufactured by GMK. I also outfitted each keycap with an o-ring around the stem which softens the key press feel when a key bottoms out (plus it quiets the key press a little bit.)
GMK Dolch key set installed
For firmware, I used Easy AVR. The media keys pause/play, mute, volume up, and volume down worked as expected. The decrease and increase screen brightness are available by using the SCROLL_LOCK and PAUSE key mappings respectively.
The next / prev track key codes for OSX aren’t the same as windows so the default key codes won’t work. I used the following changes to the source code to get the NEXT_TRACK and PREV_TRACK track mappings working.
diff --git a/firmware/src/config_keymap.h b/firmware/src/config_keymap.h
index dace012..47c180e 100644
--- a/firmware/src/config_keymap.h
+++ b/firmware/src/config_keymap.h
@@ -38,8 +38,10 @@
 #define SC_MAC_CP_RECORD 0xB2      /* Record */
 #define SC_MAC_CP_FFW 0xB3         /* Fast Forward */
 #define SC_MAC_CP_REW 0xB4         /* Rewind */
-#define SC_WIN_CP_NEXT_TRACK 0xB5  /* Scan Next Track One Shot Control (OSC) */
-#define SC_WIN_CP_PREV_TRACK 0xB6  /* Scan Previous Track One Shot Control (OSC) */
+#define SC_WIN_CP_NEXT_TRACK 0xB3 /* Scan Next Track One Shot Control (OSC) */
+#define SC_WIN_CP_PREV_TRACK 0xB4 /* Scan Previous Track One Shot Control (OSC) */
 #define SC_WIN_CP_STOP 0xB7            /* Stop One Shot Control (OSC) */
 #define SC_MAC_CP_EJECT 0xB8       /* Eject */
 #define SC_MAC_CP_REPEAT 0xBC      /* Repeat */
finished product
One last change I’d like to make is to add a detachable USB cable. The Filco models have the USB cable wired into the board so it is not replaceable. My keyboard plugs into my laptop which is only a foot or 2 away, making the stock cable unnecessarily long.
UPDATE: I have since added a USB mini female connector to the back of the case. I’ve done this on 2 different filco keyboards and it fits the hole the factory cable feeds through pretty well with some slight trimming.